Culinary Seasoning Set with Instructions
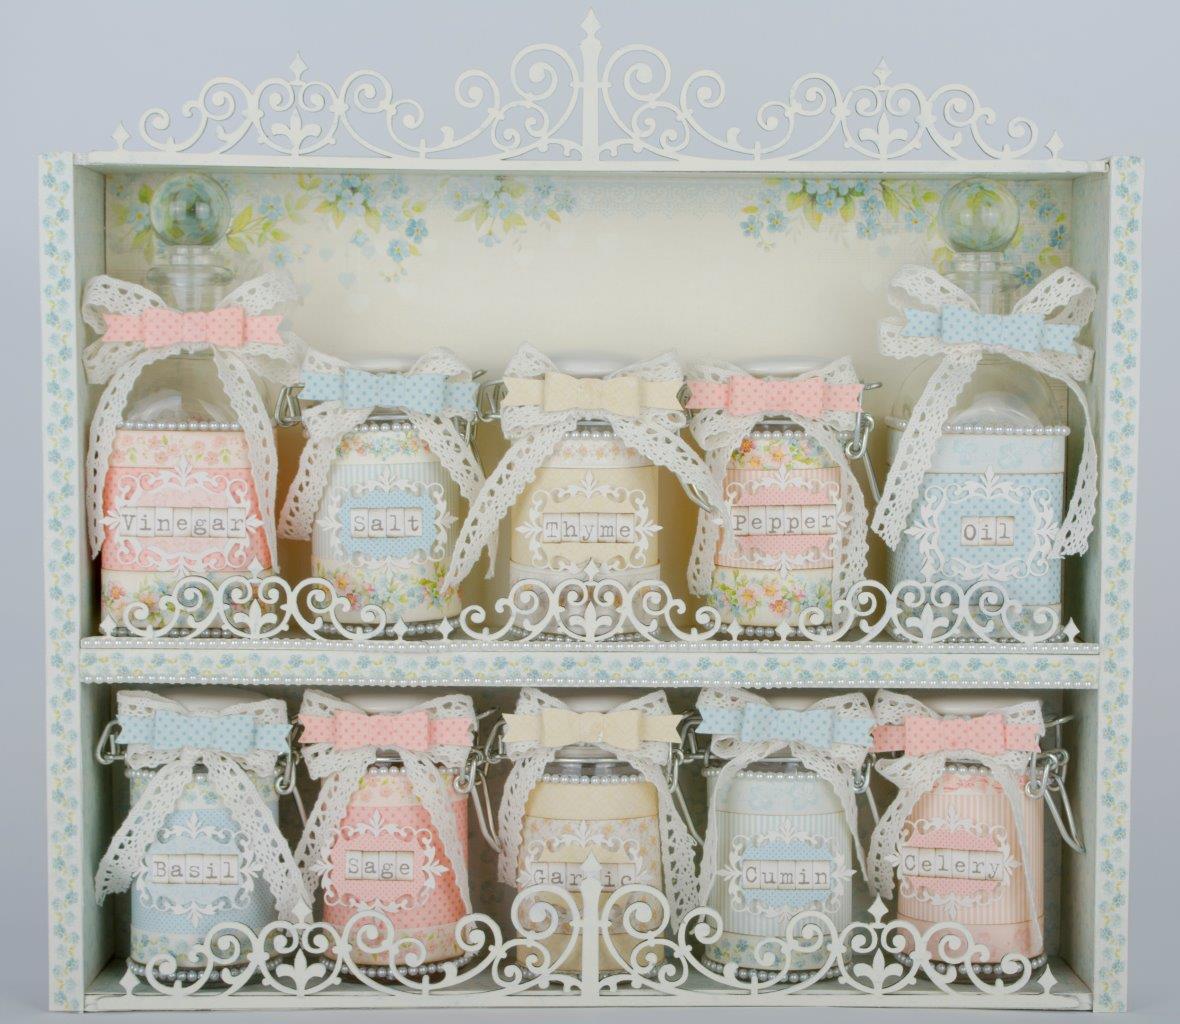
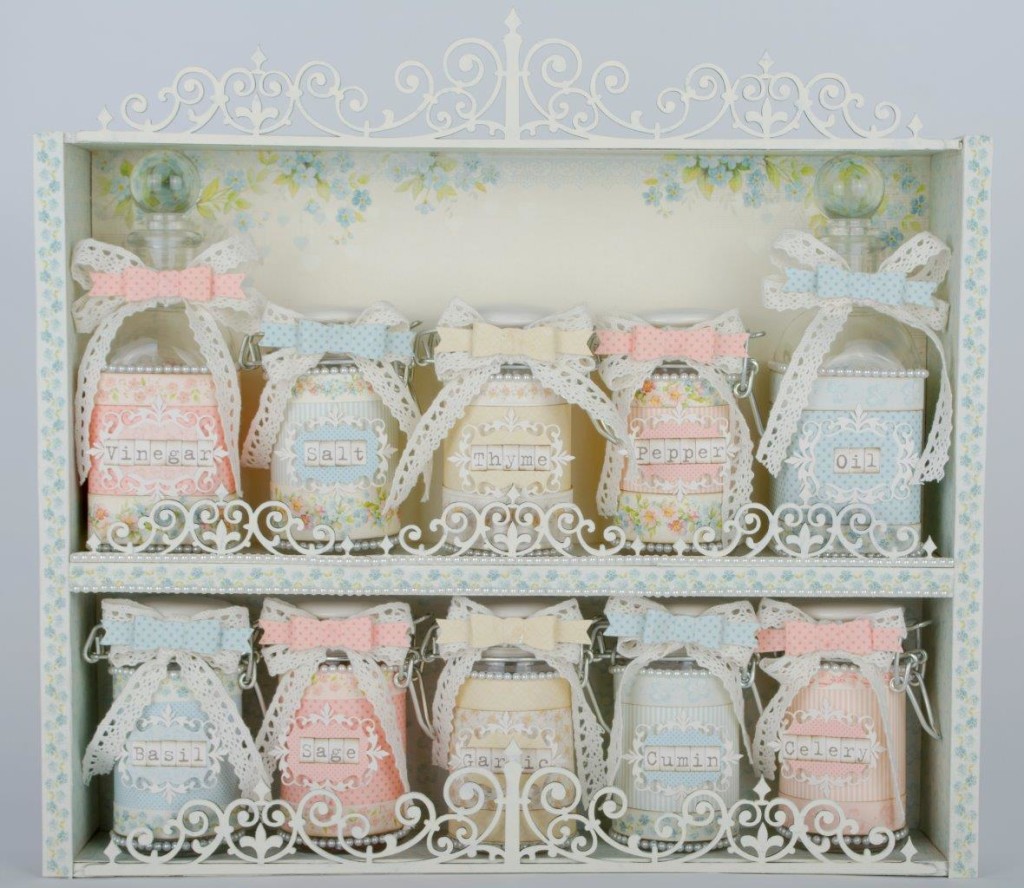
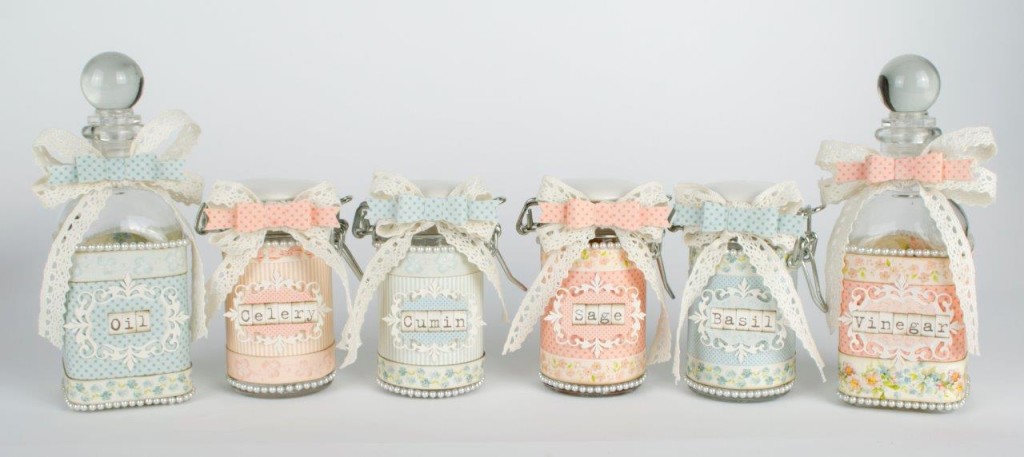
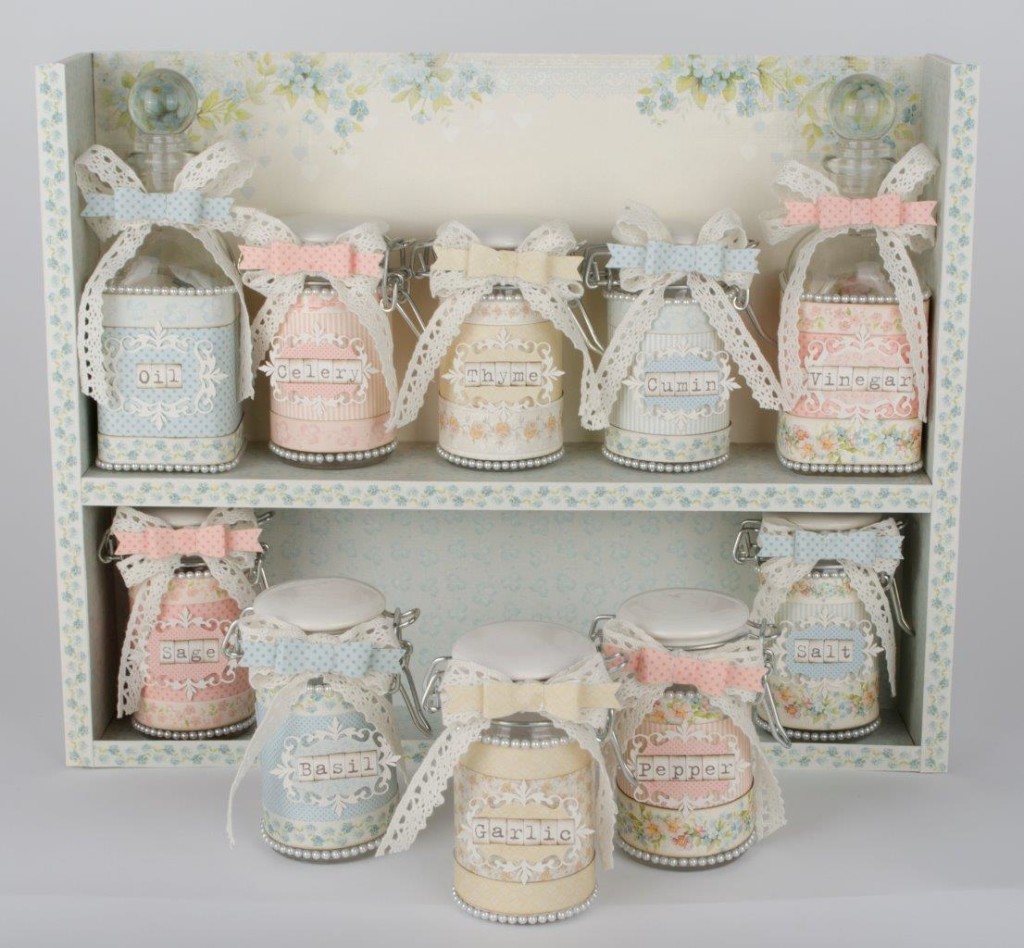
Check out Pion Design’s Blog here to see this post! I made this seasoning set with the lovely pinks and blues of their new Sweet Baby collection. The yellow came from their For Mother collection.
The decorative trim below is from Dusty Attic and I am happy to now be able to offer Dusty Attic decorative chipboard elements in my shop. These intricate chipboard pieces add wonderful dimension and decoration to projects and can be painted, stamped, and spritzed as they are sturdy. The chipboard trim below not only provides a decorative element, but is functional as it provides an enclosure for the glass jars.
I think this project would make a special handmade Christmas gift. I’ve enclosed instructions below on how to make the shelf for this project.
Products Used:
Pion Design: Sweet Baby (blues and pinks), For Mother (yellow), Studio of Memories (lettering)
Dusty Attic: Wrought Iron Trim
thick chipboard
glass jars
self-adhesive pearls
PROJECT INSTRUCTIONS:
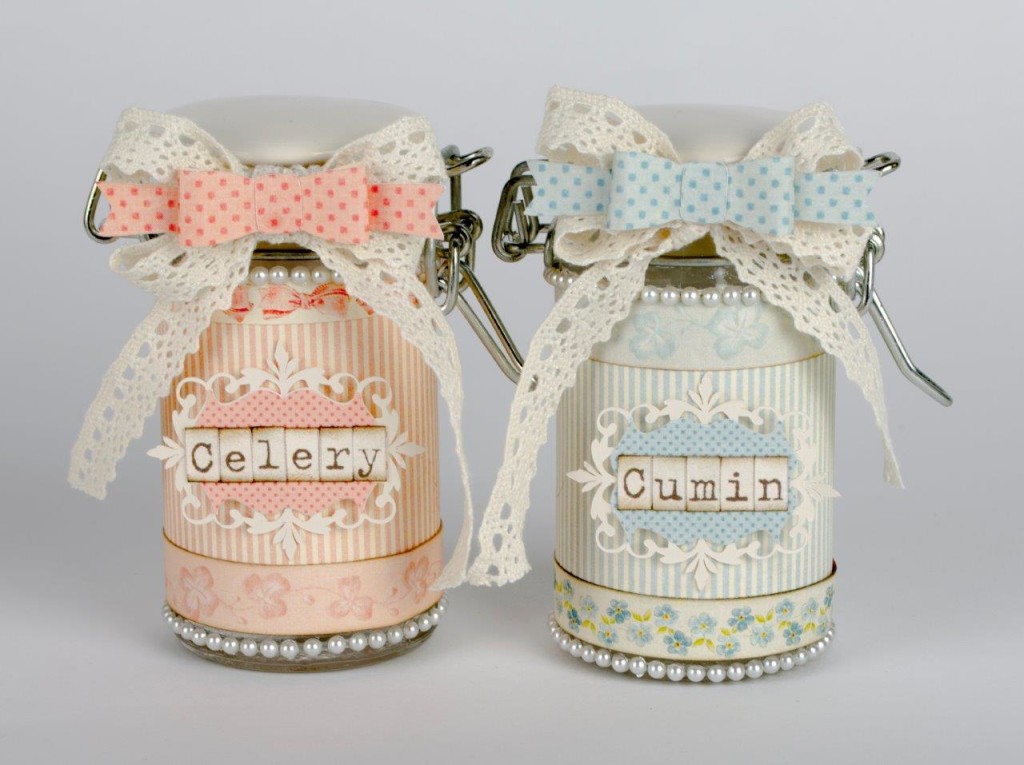
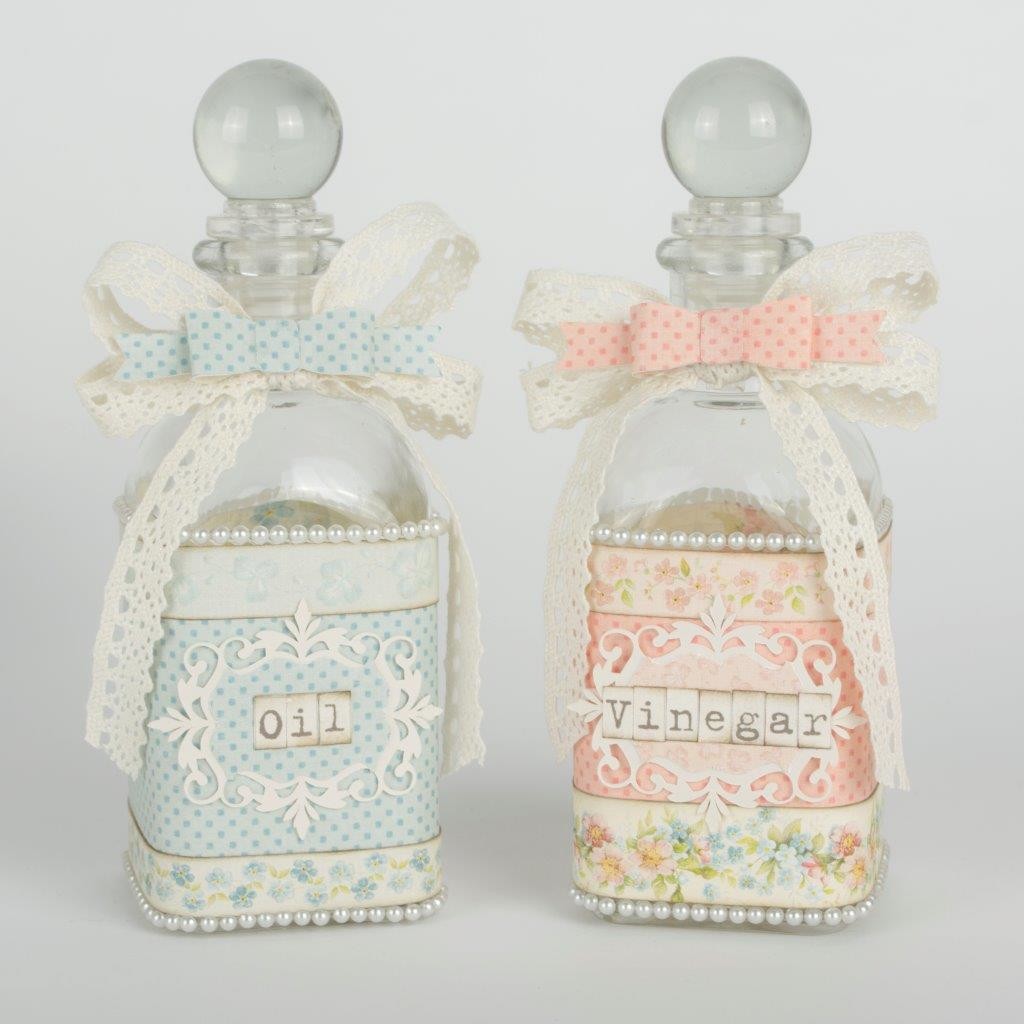
1. Apply paper and decorative labels, lace, and gemstones to your glass jars. I bought these glass jars from Hobby Lobby.
2. For the shelf, you will need thick chipboard. I double-layered 1/8″ thick chipboard (making it 1/4″ thick) for extra support. Cut the following pieces:
Shelf back: 10″ height by 12″ width
Shelf sides: 2 1/4″ x 12″
Shelf top, bottom, and middle insert: 2 1/4″ x 11 1/2″
3. Once you’ve glued the layers together for strength, firmly glue the shelf sides to the inside edges of the shelf back.
4. Now firmly adhere the shelf top to the top edge of the shelf and to the sides of the shelf.
5. Firmly adhere the bottom shelf to the bottom edge of the shelf and to the sides of the shelf.
6. Since the oil and vinegar containers are taller than the spice jars, I adjusted the middle shelf height to fit the taller containers on top. Measure and firmly adhere the layered center shelf to the shelf back and sides.
7. Apply decorative paper to the shelf.
8. I used Dusty Attic chipboard on the front shelf edges to not only provide decoration, but to provide a safe enclosure for the glass jars.

Sharman
AWESOME…………..
Jo
Absolutely GORGEOUS Tara! I love this set so much. I seriously do. You rocked this and I love the added ribbons/trim. They make it look vintage and shabby chic.
Hugs,
Jo
xox
Jules “julie kitchener” Kitchener
Just gorgeous as usual!!!