Posted in Altered Projects
Altered Pringles box
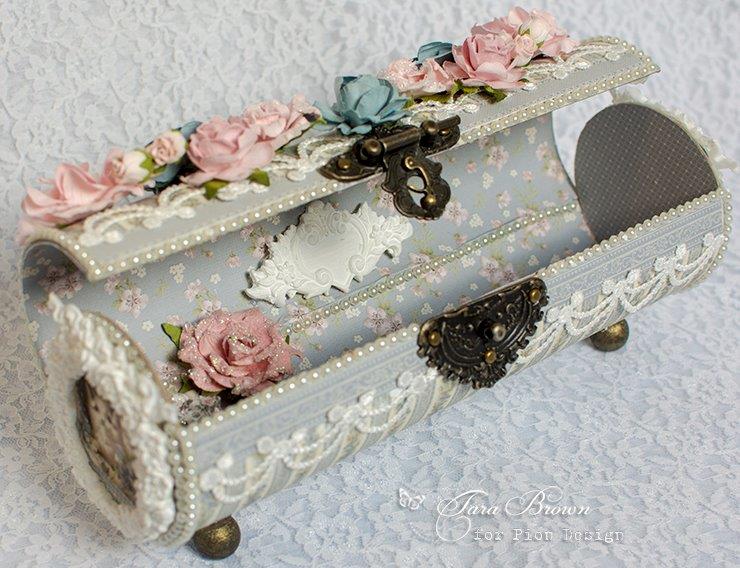

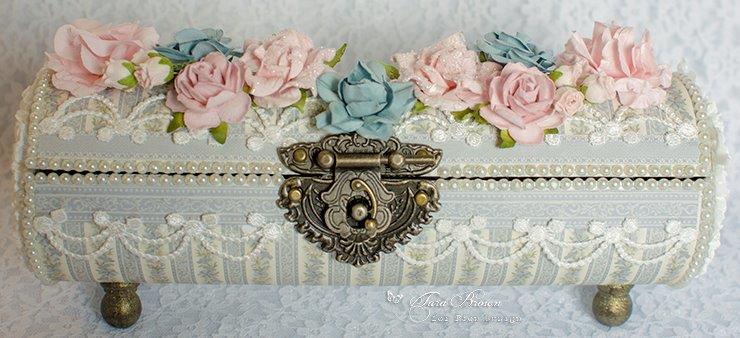
Hello! I’ve altered Pringles cans before, but this time I made one laying on it’s side. I’ve used Pion Design’s newest collections, Days Gone By and Our Furry Friends which match nicely together. I picked up the hardware from Hobby Lobby. It’s an easy project but makes for a uniquely special box. You can also find this project posted on the Pion Design blog here.
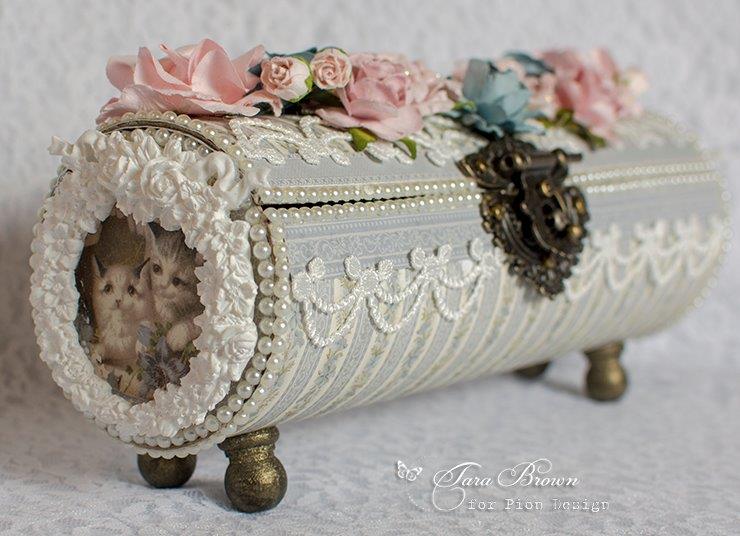
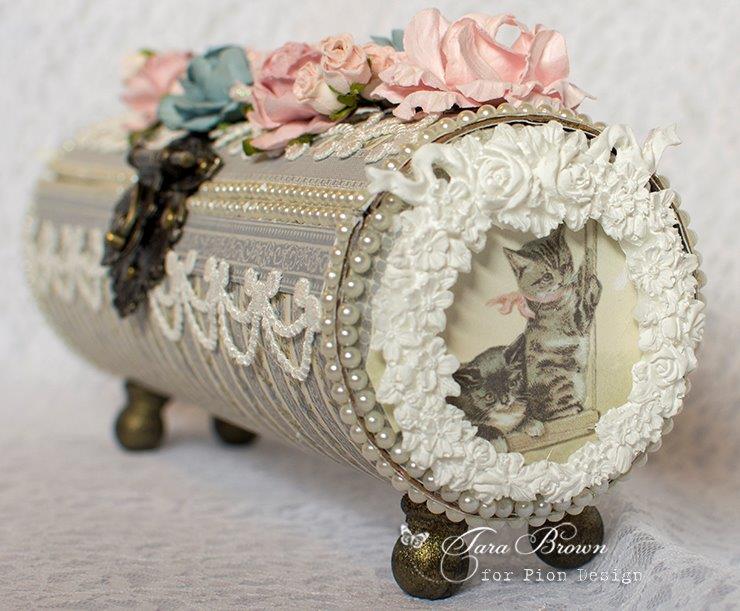
I am more of a cat person so I tend to use the kitten images from the collection more than the dog ones, but all are pretty cute! Here is a picture of our family cat Sheba:
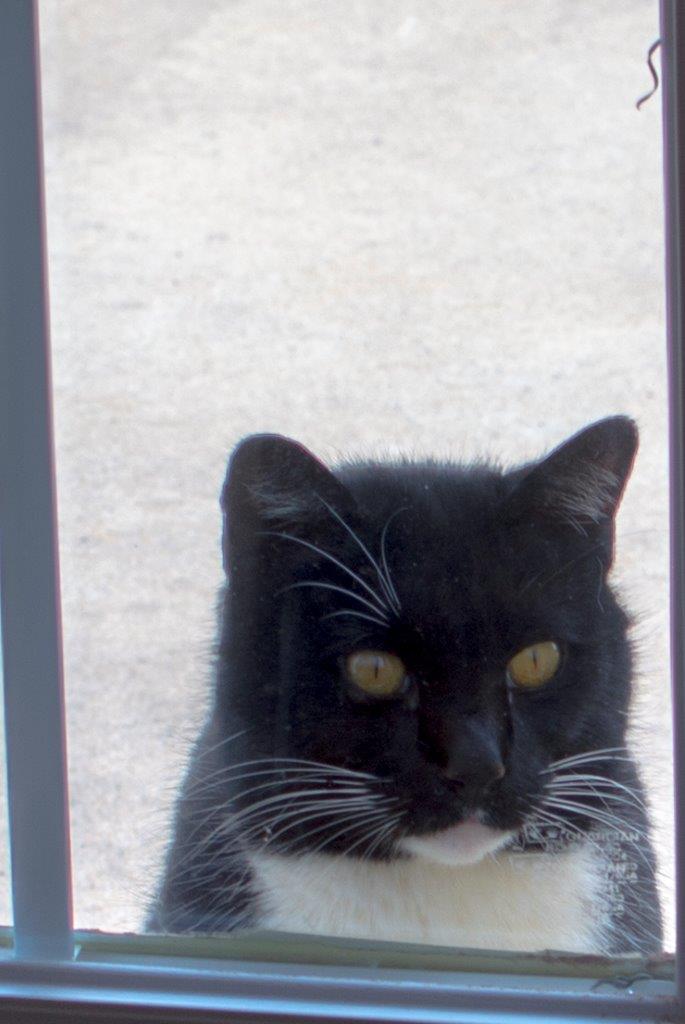
Best wishes for a great day!
Tara
Please follow and like us:
Theresa Harding
This is fab Tara. I loved your others too. Hugs Theresa xx
Tara Brown
Thank you Theresa! I am so happy to see another of your wonderful comments! You are great! Tara
Sandra Mangrum
Simply Beautiful! You are so creative.
Tara Brown
Thank you Sandra! I appreciate your kindness in making such a meaningful comment. I hope your week is a great one! Tara
Linny J
so inspirational! you created quite the treasure!! I would love to have a go at this and it would also give me a reason to binge on some Pringles!!!! 🙂
Tara Brown
Hi Linny, thank you for your inspirational comment! My husband loved it when I told him I needed to make a project with the Pringles can – it gave him an excuse to eat the whole can! :). Have a great week! Tara
Anonymous
Excelente!!!
Tara Brown
Hi! Many thanks for your kindness in. commenting! Tara
Ruth Ann Herron
Just beautiful.
Tara Brown
Thank you Ruth Ann! Love your comment! I hope your week is amazing! Tara
Rachel
So beautiful! I love this and all of the awesome detail! Amazing work!!
Rachel Jameson
So beautiful!! I love all of the awesome detail on this!
Tara Brown
Hi Rachel, you are so thoughtful to post on my blog. Thank you – and give those 3 precious girls of yours love from me!
Connie Walsh
Tara, that is absolutely beautiful. I love it.
Tara Brown
Hi Connie, you are so kind! Thank you, thank you for taking time to post such a lovely comment – i love it! Have a great week! Tara
maryannl
Sooo soooo gorgeous work here again Tara, and these papers are just perfect for it. I´ve also made quite a few of these, though not so many of them this size. 4 years ago I made 3 like this out of toiletrolls for our granddaughters confirmations, where they each got one of these in their favoritcolor with a piece of jewelry inside, and they still have them to this day. I made a couple of this size as pencilholders with the girls a couple years ago, and they were definitely a hit too, but yours are really gorgeous with these lovely papers. I´m blown away once again.
Tara Brown
Thank you Maryanne! It is always wonderful to see one of your amazing comments! You are so special to me – I hope you have a great week ahead of you! Tara
Evelyn
Not only creative, but beautiful.
Tara Brown
Thank you Evelyn! You are so kind! Thank you for posting such a great, sweet comment! Enjoy the week! Tara
Anonymous
Me encantan todas tus muestras, felicidades
Tara Brown
Many thanks for your kind comment! I love it! Tara
Anonymous
Amazing. What a creative mind you have
Tara Brown
Thank you for your kind comment! I very much appreciate the time you took to post it! I hope you have a wonderful week! Tara
bjinar2015
What a beautiful way to recycle a Pringles can.You have an eye for beautiful crafts.
Bobbie
Tara Brown
Hi Bobbie,
Yes it’s a fun project for a Pringles can! :). I hope you have a great week – thank you so much for taking the time to comment! Tara
Hanny
Tara you amaze me with your creations.. each one so beautiful.. I have a pringles container in my pantry now .. when its empty I will see if I can do something with it.. 🙂 wish me luck.. I love your Sheba she is also beautiful. thanks for sharing all your lovely things with us.. kind regards Hanny- Australia
Tara Brown
So good to hear from you Hanny! Thank you for your wonderful comment! I hope everything is going well for you. Have a great week!! Tara
Judy Ersery
This is just beautiful. Do you have instructions on how to make it?
Tara Brown
Hi Judy, Thank you for your kind comment! Here’s how I made the project:
1. draw a straight line down the long side of the can and then carefully use a sharp craft knife to cut this straight line.
2. On the opposite side of the can, draw another straight line and then score this line firmly to allow the can to open up and fold back.
3. Remove the top and bottom round pieces of the can. Use them to trace around thick chipboard. Cut out the round chipboard pieces and then use a hot glue gun to glue the pieces to the bottom end of the box (as pictured).
3. Cover the project with Pion Design papers.
4. apply a metal clasp to keep the box closed (I picked mine up from Hobby Lobby) and painted wood ball knobs for the feet.
It’s an easy project but makes a uniquely special box!
sillyne
Magnifique, j’adore, bravo pour votre immense créativité
Tara Brown
Many thanks for your wonderful, inspirational comment! I appreciate you taking time to post. Tara