Basket with Cutting File and Tutorial
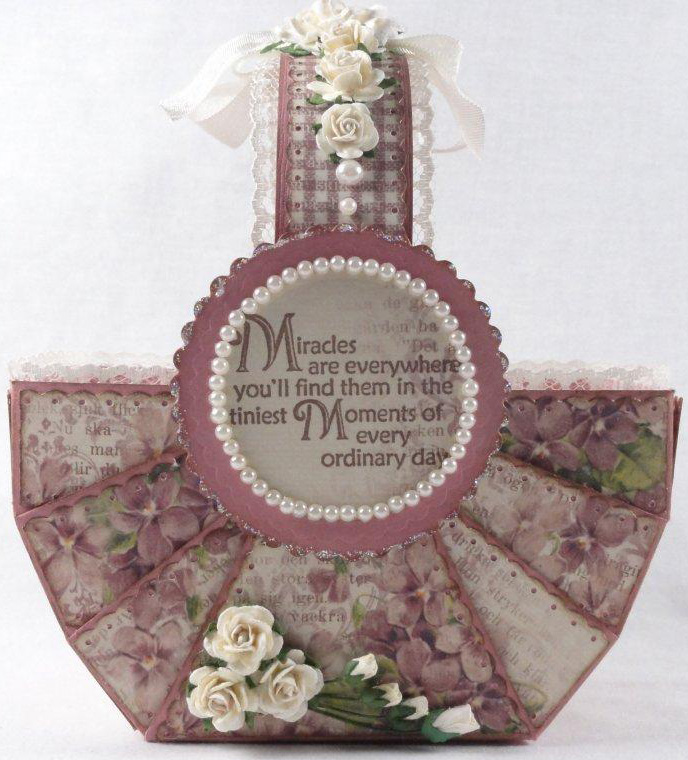
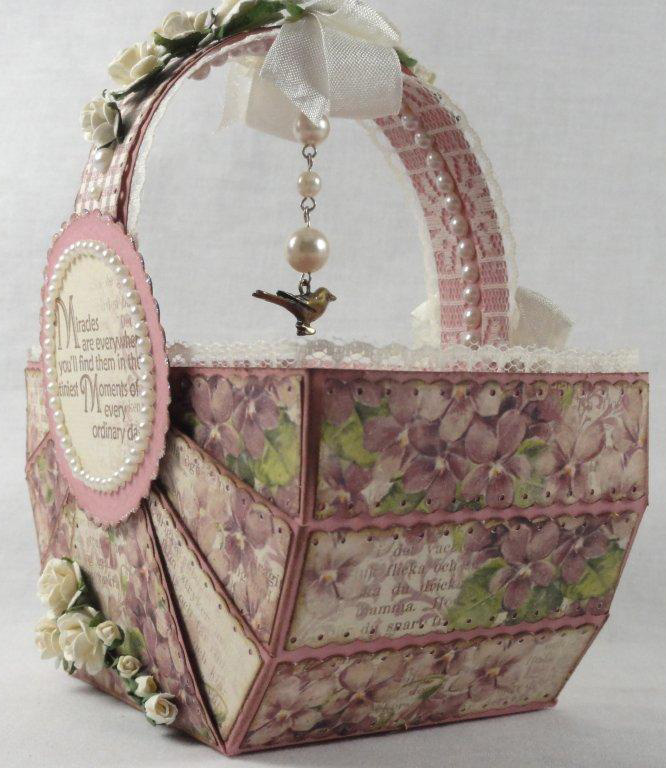
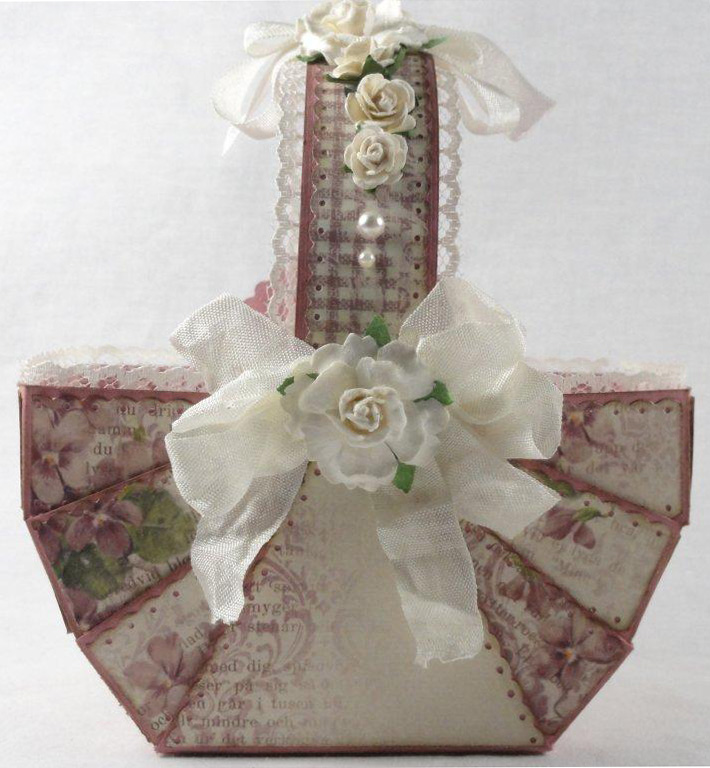
Here is the same basket I made a few posts back. I created the cutting file for the Pazzles Inspiration (WPC) and will enclose it below for those who have that capability with their cutting machines. I love working with the Pazzles since I can construct these projects in any size I want. I am also posting a few pictures of how to put the basket together once it is cut. There are manual templates on the internet for this basket as well which use a paper trimmer and scoreboard.
BABY BASKET TUTORIAL – WPC CUTTING FILE (**Place mouse over link and right click to Save File on your computer. Then open in your machine software.)
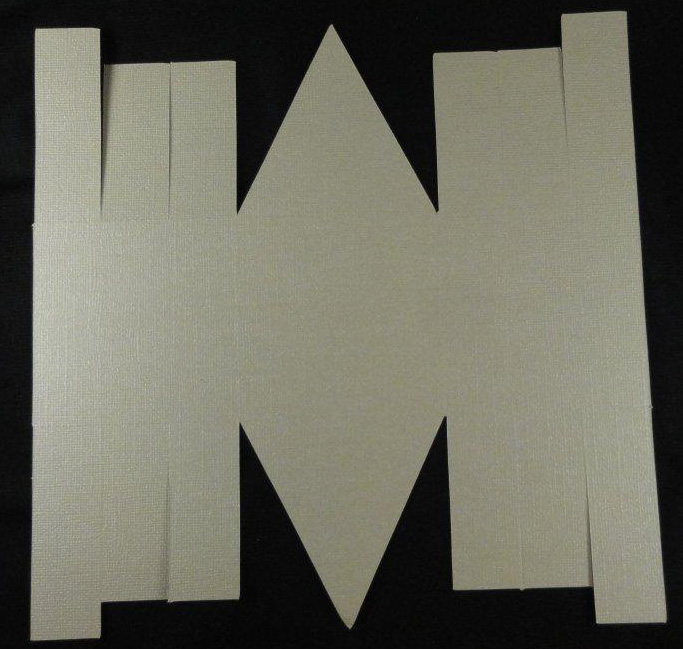
Once you have cut and scored the basket with your machine, it will look like this:
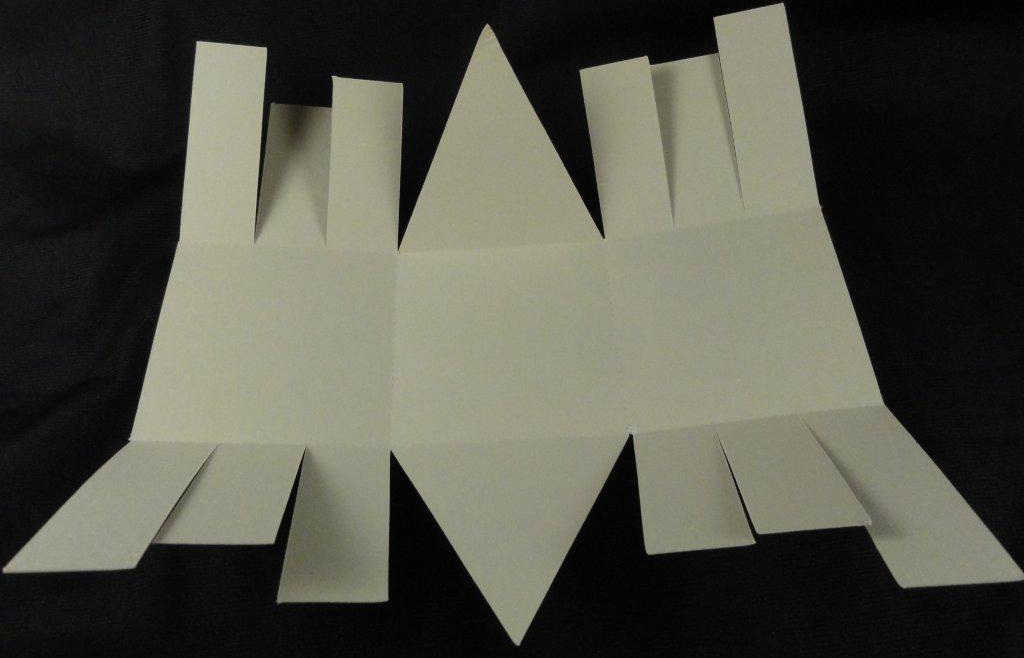
Remember, if you want to cover the cardstock with decorative paper, you’ll need to add it at this point. I cut out paper for my baskets with the same cutting file and then used a MS punch to scallop the edges. If you don’t want to use a decorative punch, you can adjust the size the template for the paper to be a tiny bit smaller than the cardstock. Fold along the scored lines:
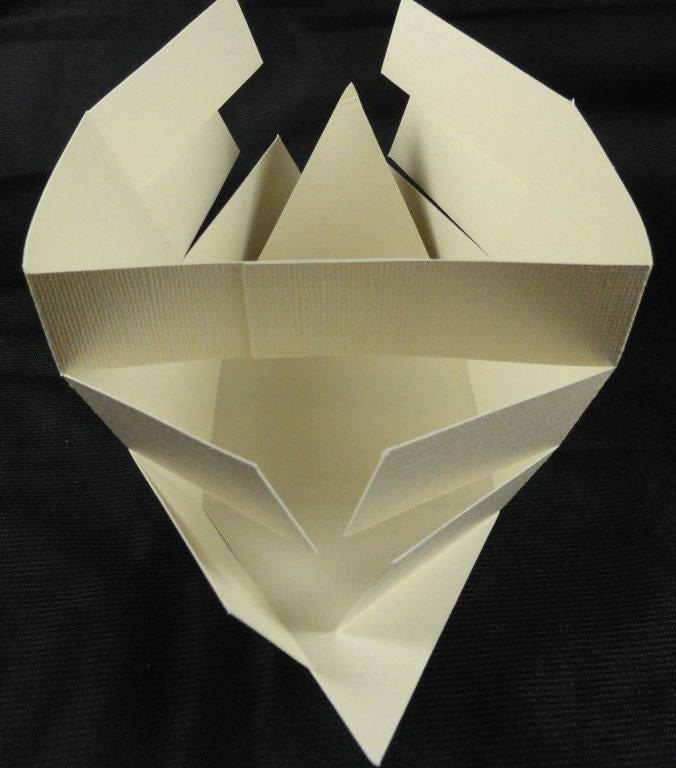
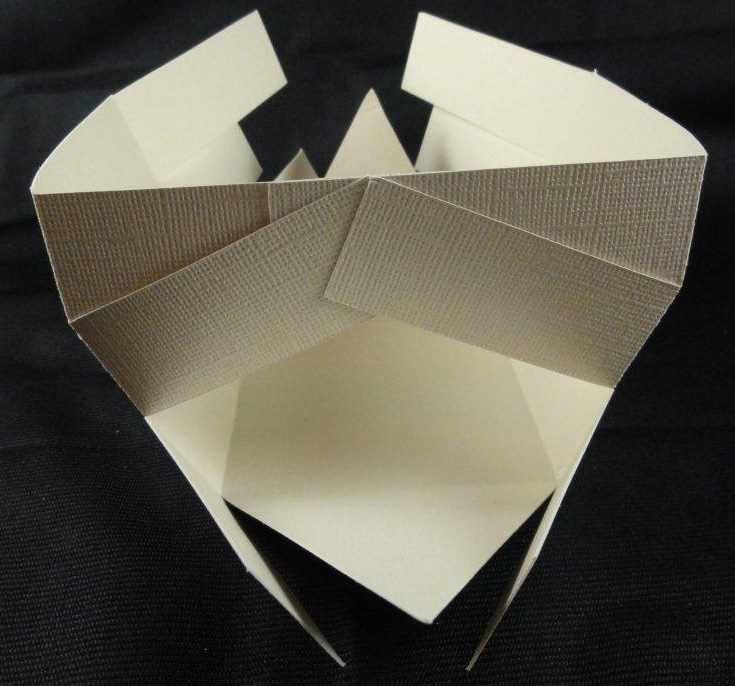
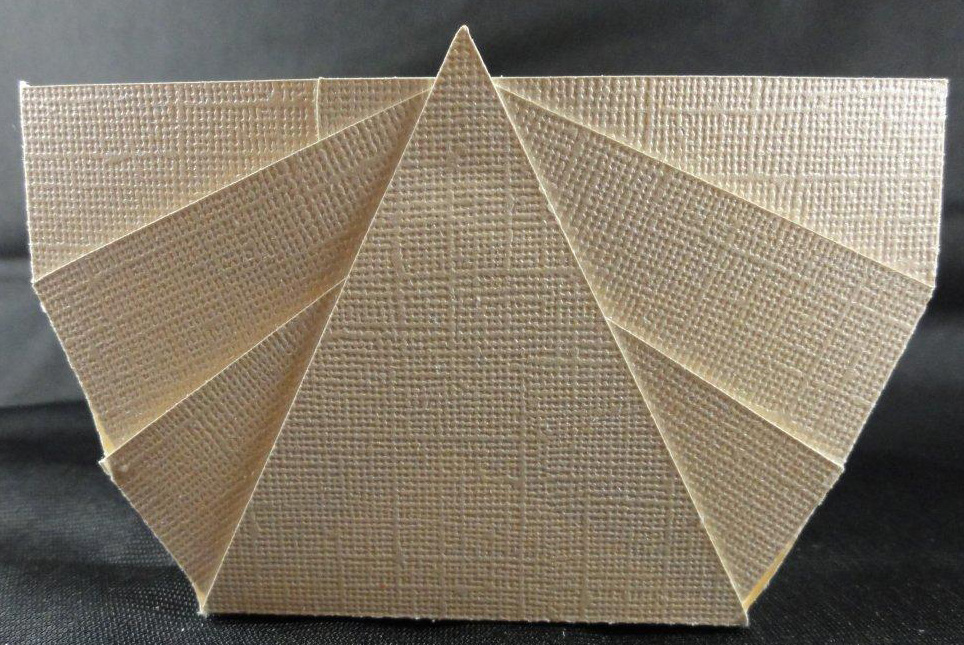
Glue the strips together as shown starting from top to bottom. The longer top strips will be glued horizontally
The lower strips should be pulled up and glued as shown. This decorative look will also give a slight curve to the sides of the basket.
TIP: Depending on the strength of your card stock and paper, you may want to change the kiss cut (hatched) scoring marks to regular cut lines to prevent paper tearing when pulling up the strips. If you do this, you will need to lower the pressure setting and blade length quite a bit as all you’re wanting is a light score. With my Pazzles, I put the blade length at 1.5 and lower the pressure to 13. I’ve found that the kiss cut lines will tear at the hatched areas when using thin, weak cardstock and paper when the strips are pulled up. No problems though with the kiss cut marks when you have heavy, thick card stock and paper.
Here is how the basket should look after it’s glued together:
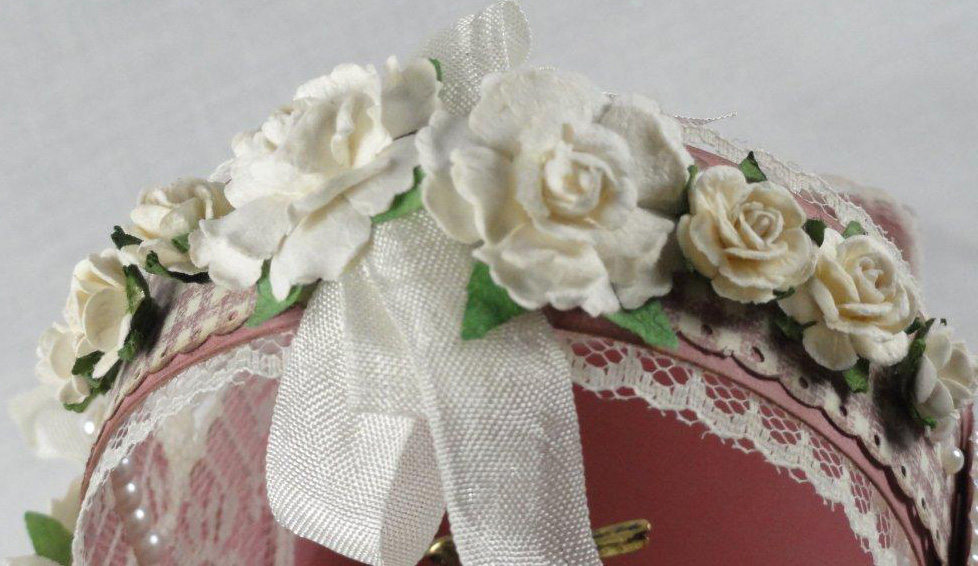
Cut off the tip of the triangle to level it with the rest of the basket. Apply a design over the top to smooth out the appearance of the top area. I used a scalloped circle for my project. Other ideas you could use would be a large flower, outside ribbon or lace, or a separate applied cardstock/paper border. Another idea would be to line the interior with fabric and then drape the fabric over the outside of the basket an inch or two (like you see on a picnic basket). Cut out a 9″ x 1″ strip of cardstock for the handle. It can be added by either glueing it to the insides of the basket or by attaching it with brads.
dilmini
how can I open a wpc document on mac ?
Tara Brown
Hi Dilmini, I have a mac myself and all you have to do is right click on the WPC link and select “download linked file.” Then you can open the file in your cutting machine. Hope this helps! Take care! Tara