Posted in Cards, Miscellaneous Cards
Tara Brown
- posted on
- 2 Comments
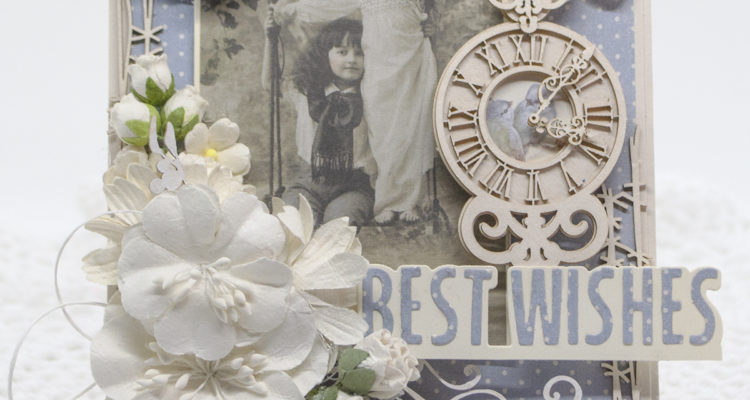
Hello and happy Monday! Today’s card features the Amazing Paper Grace Bold Greetings Die set from the Make a Scene Collection. It also features a gorgeous blue sheet from the Garden of Hope