Wine Box
Tara Brown
- posted on
- 3 Comments
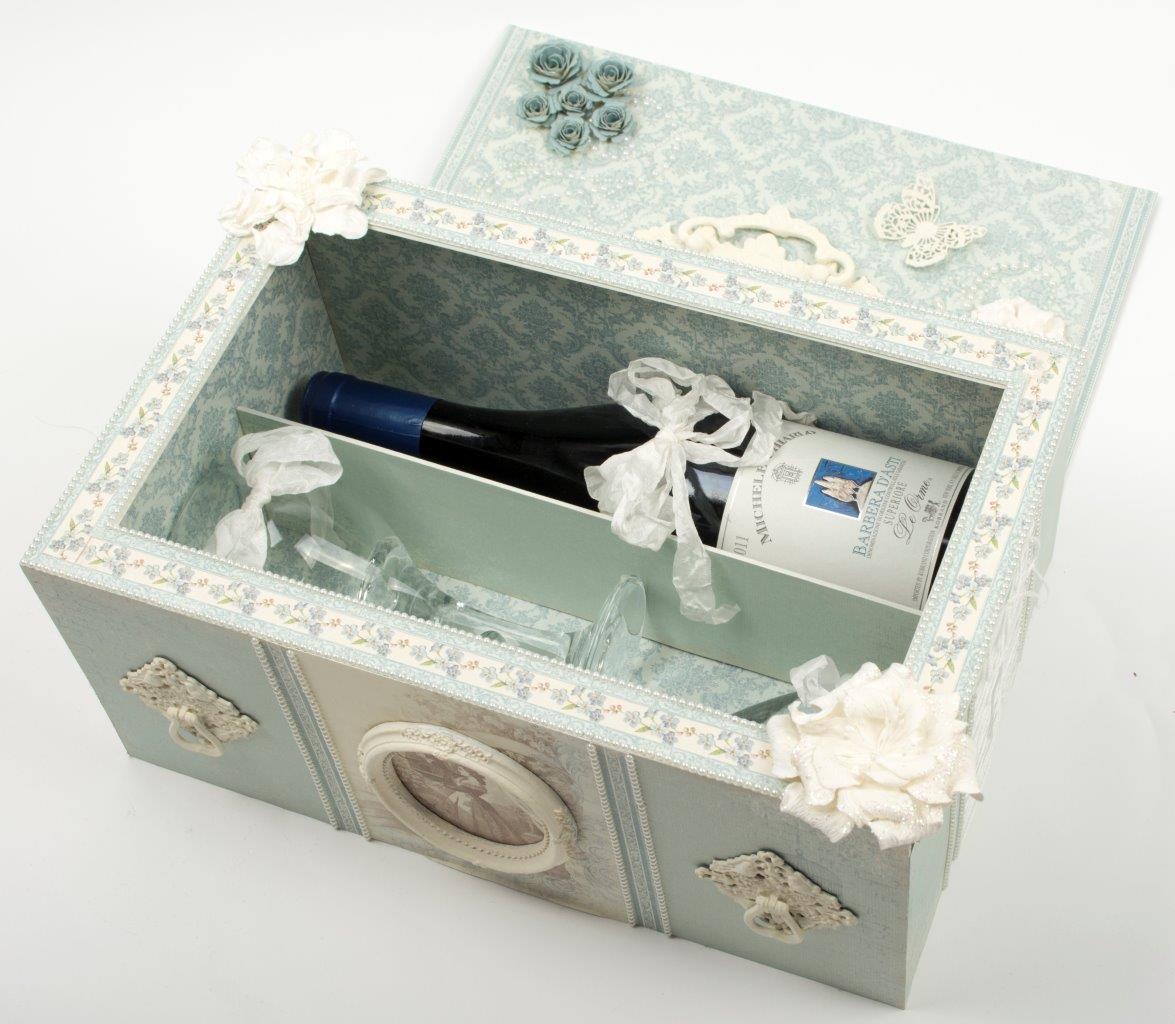
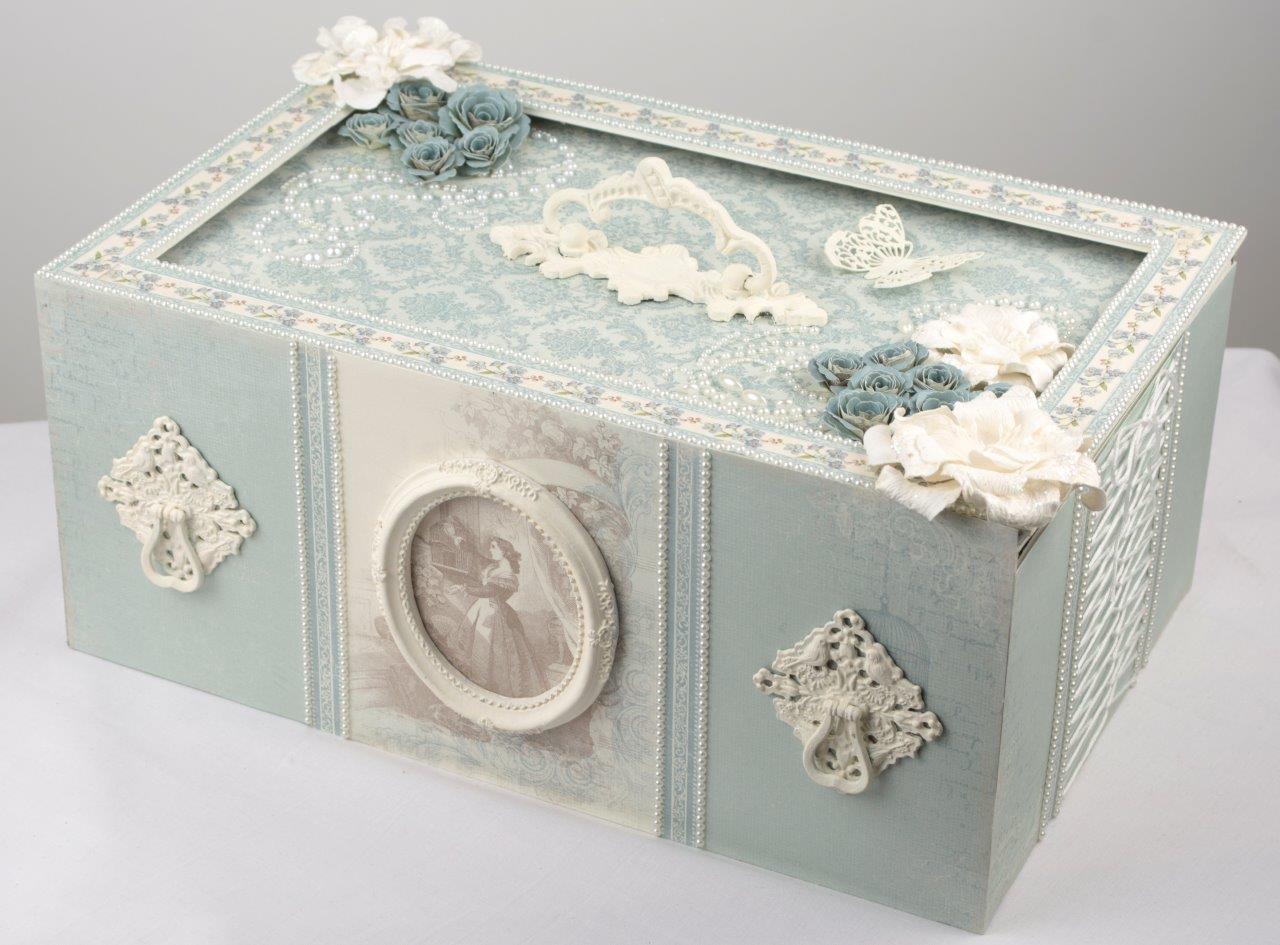
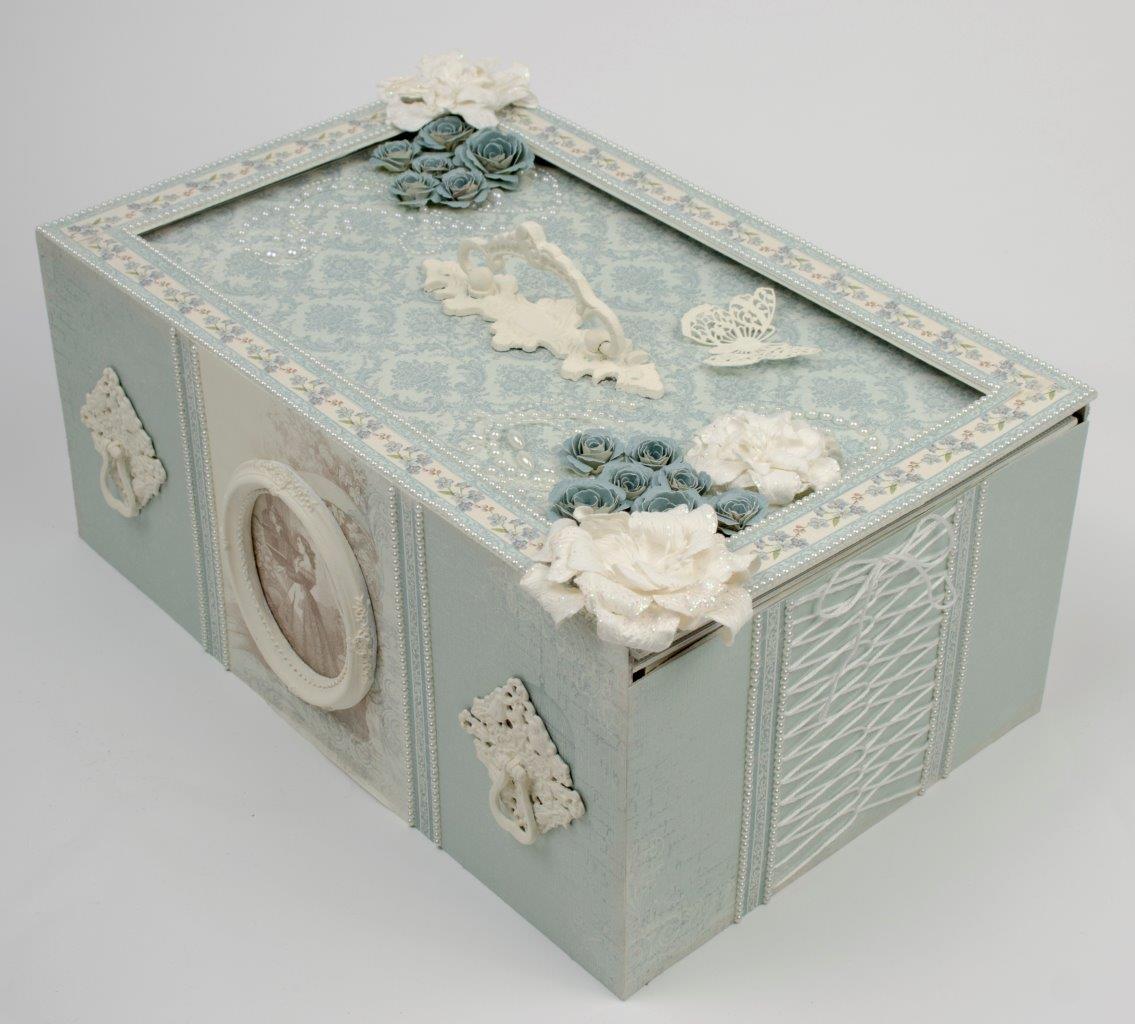
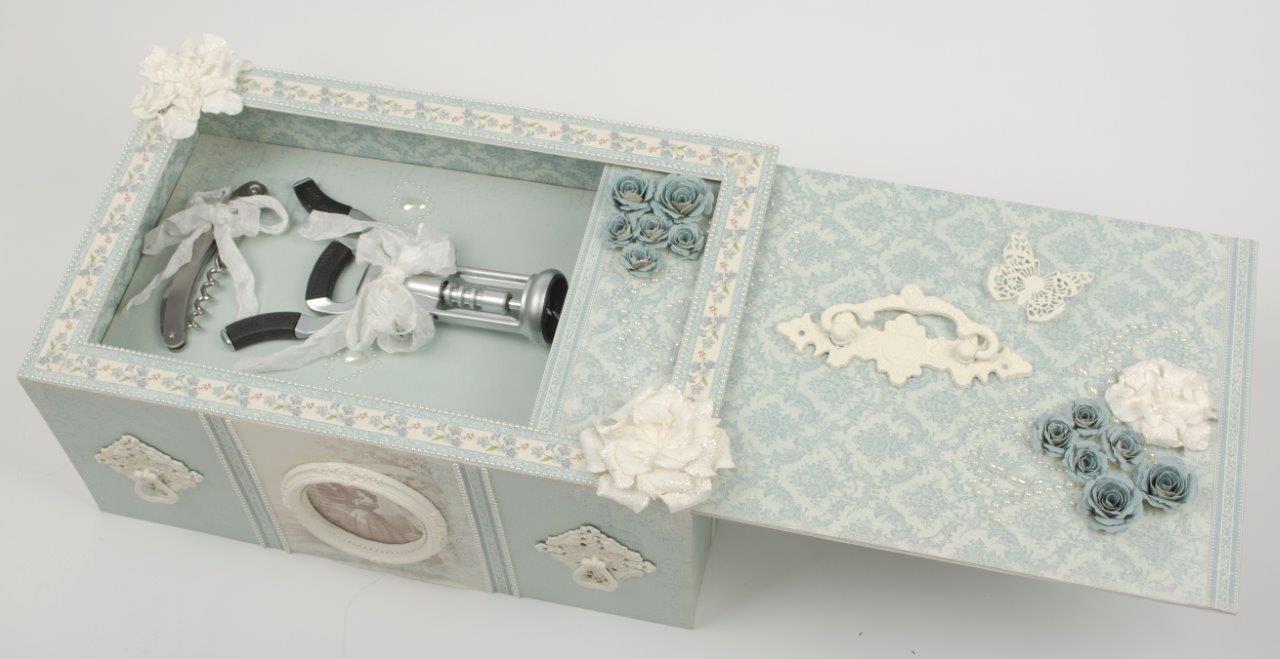
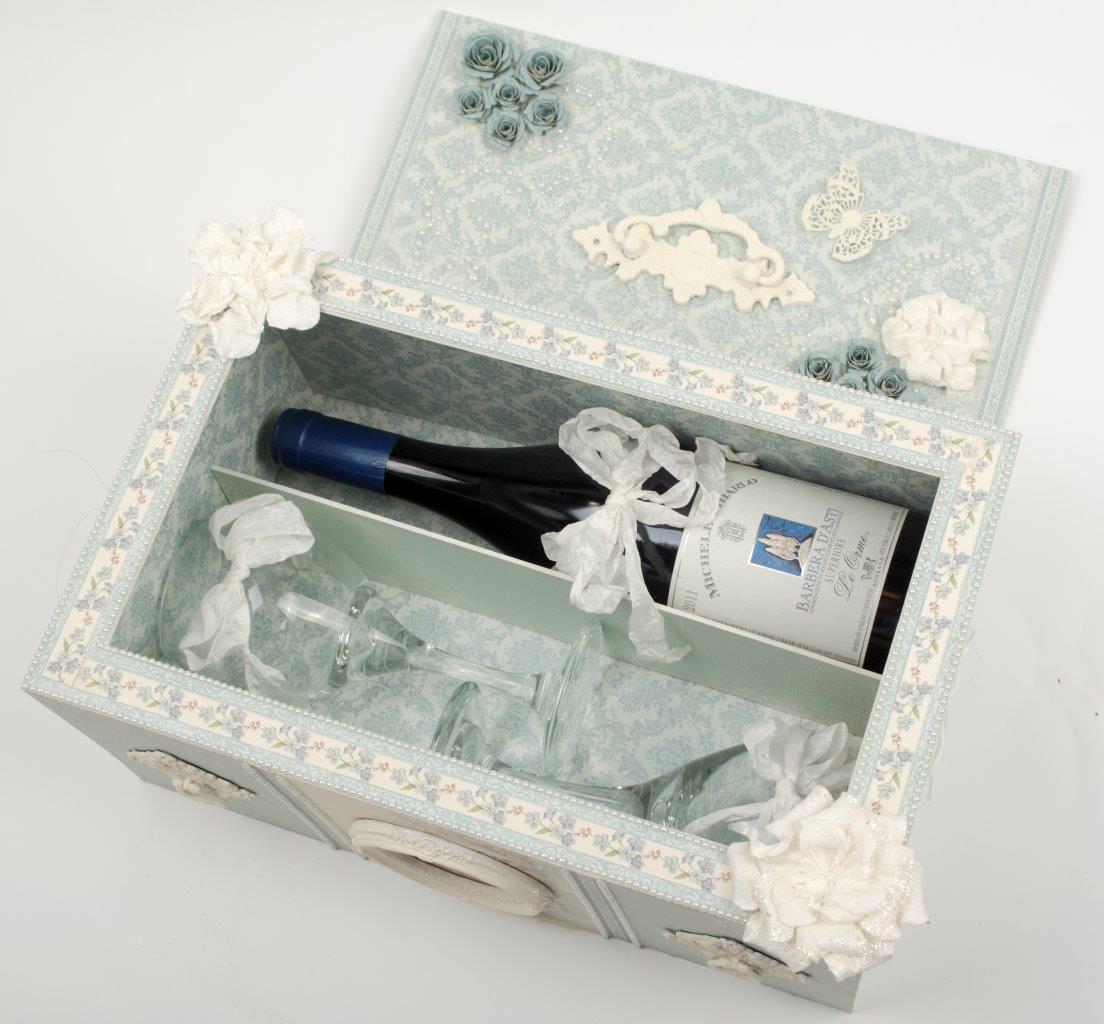
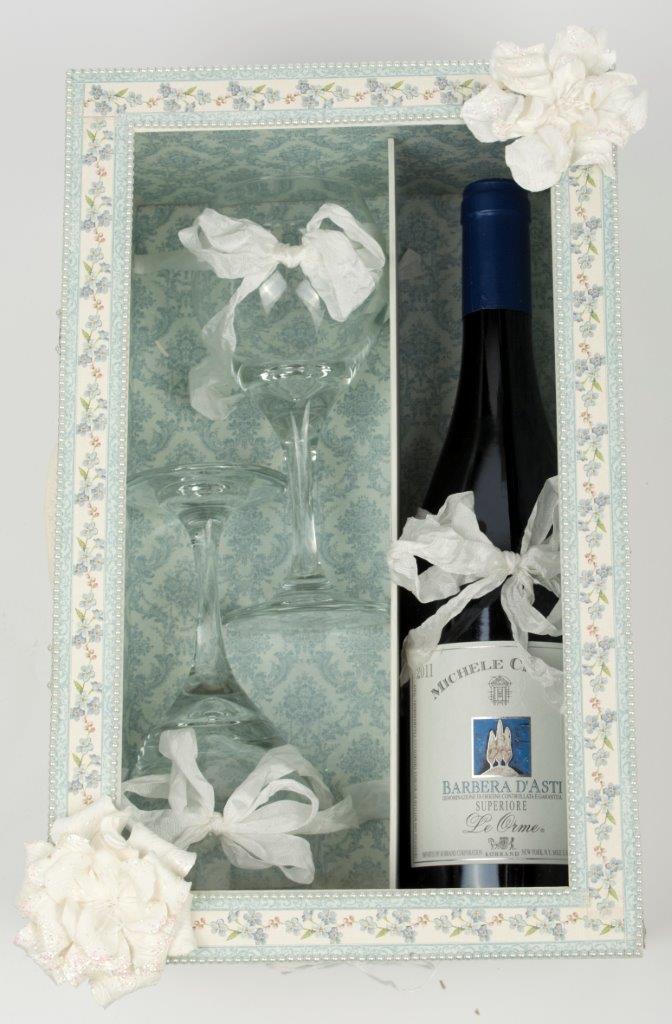
You can find this box on Pion Design’s blog here. The delicate blue shades of Pion Design’s Vintage Garden papers are so very beautiful! This great gift idea was made by cutting and layering thick chipboard pieces and then covering them with the lovely Vintage Garden papers. The sliding lid removes to expose a top layer of tools which lifts out to reveal the wine along with two goblets. Instructions for making this project can be found below.
MATERIALS USED:
Pion Design: Vintage Garden
thick chipboard
Logan Mat Cutter
Spellbinders: Bitty Blossoms die
Prima flowers
self-adhesive pearls
Fairy Tale metal embellishments (painted ivory)
Wrought Iron handle (painted ivory)
Melissa Frances resin frame
white embroidery thread
PROJECT INSTRUCTIONS:
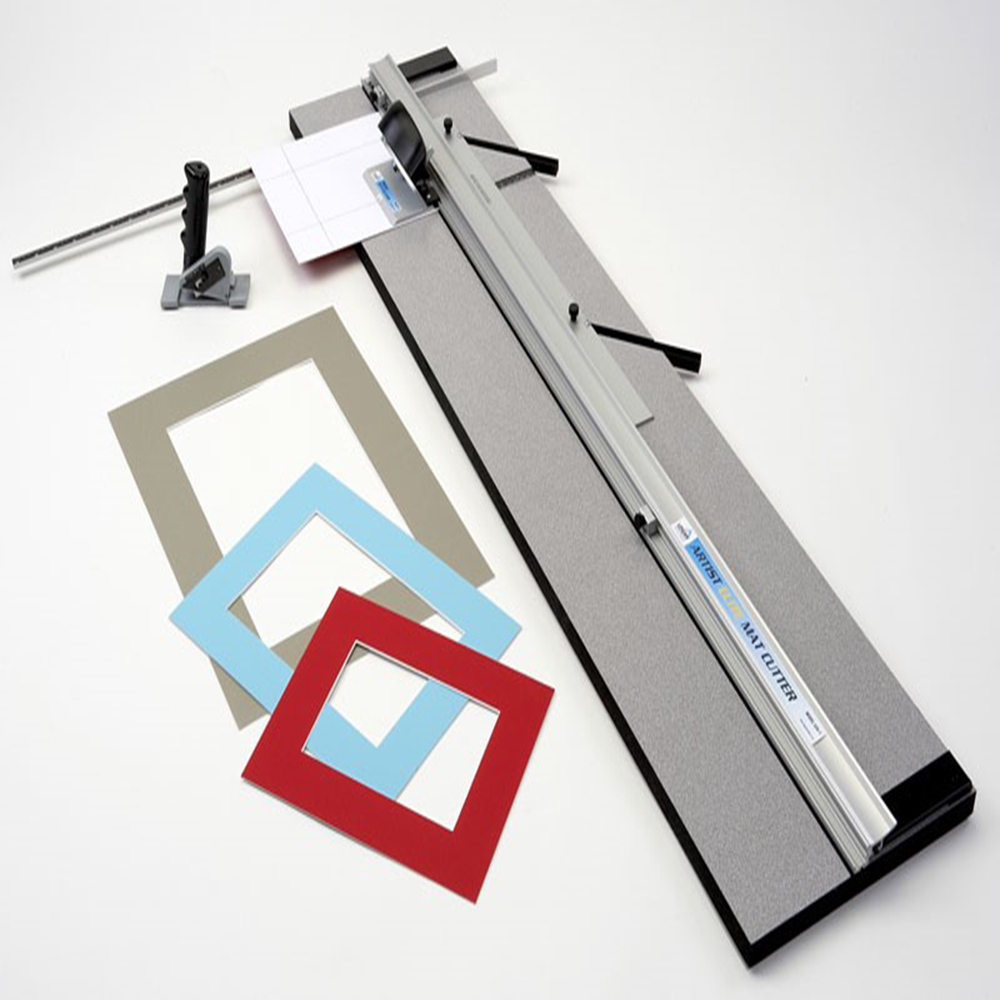
To support the weight of the wine, goblets, and tools, you will need to make the box thick and sturdy. I used thick chipboard for this project and layered some of the pieces to give strength. Hobby Lobby sells large 40″ x 40″ sheets of this thick chipboard in the artist material section and that is what I used for this project. Since it is challenging to cut chipboard, I used a Logan Mat Cutter that I also bought at Hobby Lobby. It has a long 43″ length that will accept a 40″ sheet and easily cuts through thick chipboard. Since many of my projects use chipboard for strength, I found this tool to be a good investment. The cutter has guides that allow you to make accurate, beveled interior frames, like what I have made for the top of this project.
LOGAN CUTTER
This particular wine bottle height measured about 12 1/2″ so the box was tailored to fit this. Measure the height of your particular wine bottle and adjust the box height accordingly. Your outer box length should be about 1/2″ longer than the height of the wine bottle since the inner supportive lid frame measures 1/4″ shorter than the outer box. The sizes of the chipboard pieces I used to cut this project are below.
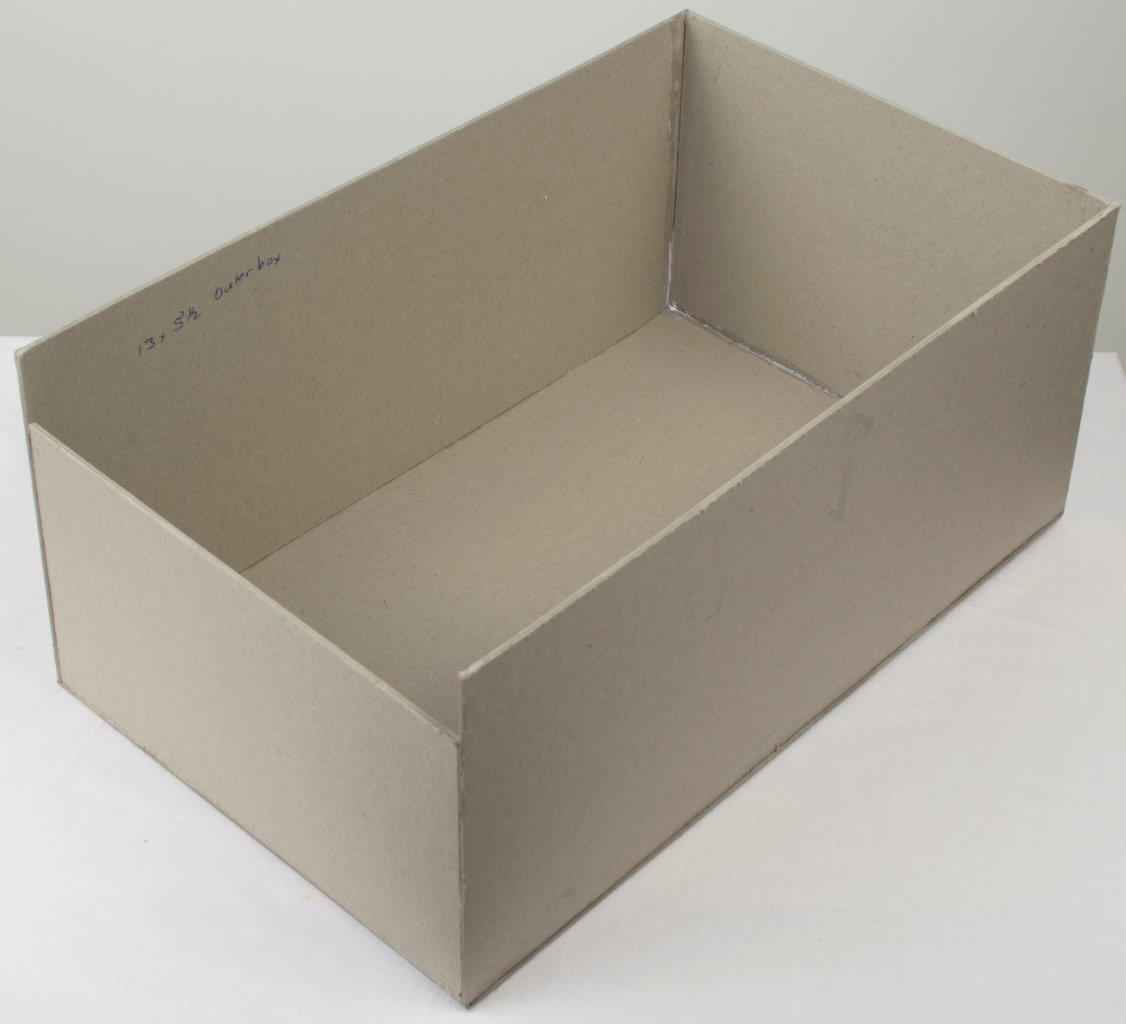
NOTE: The photos below do not have decorative paper or layers of chipboard – these pictures are just to show how to put this project together. Also disregard the writing on the chipboard.
1. OUTER BOX (apply decorative paper to all exposed pieces (outside of the box) before adhering chipboard pieces together)
Cut the outer box chipboard pieces:
Long Sides: 13″ x 6 1/2″ (cut 2 of these)
Short Side back: 7 7/8″ x 6 1/2″
Short Side front: 7 7/8″ x 5 1/2″ (the 1″ shorter top will provider the 1″ opening for your lid to slide in and out)
Base: 13″ x 8″
Adhere the two long sides to the long outer edges of the base.
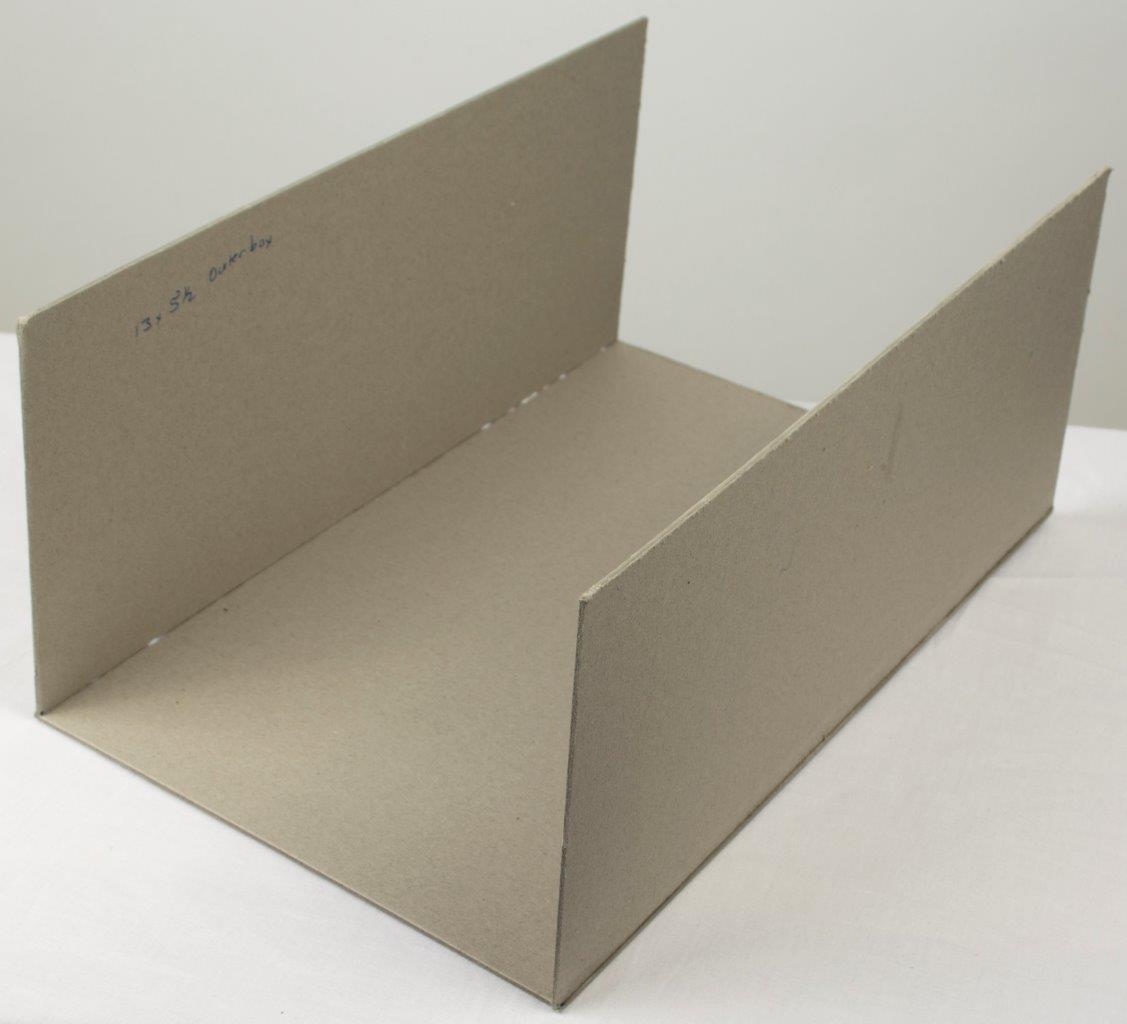
Sandwich the short side back and front between the long outer pieces and adhere to the base. This forms the outer box. Note that the shorter front side allows the lid to slide in and out and also allow 1″ for decorative handles, flowers, etc.
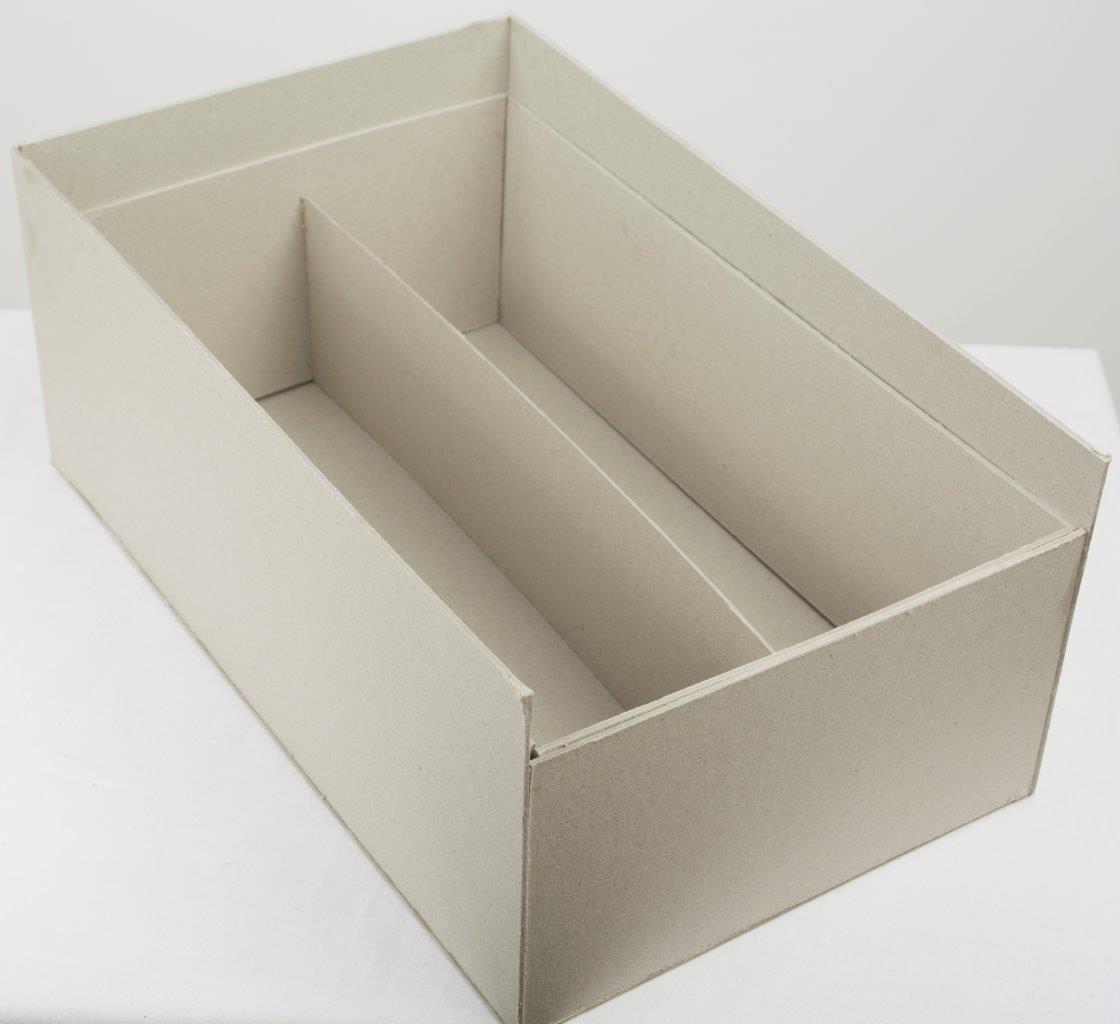
2. INTERIOR SUPPORT FRAME (apply decorative paper to exposed pieces (inside of frame) before adhering chipboard pieces together)
Cut the interior support frame chipboard pieces that the lid will slide on (NOTE: there is no need to layer these pieces as their purpose is to just provide a frame for the lid to slide on:
Long Sides: 12 3/4″ x 5 1/2″ (cut 2 of these)
Short Sides: 7 5/8″ x 5 1/2″ (cut 2 of these)
Sandwich the short sides between the long sides and adhere the pieces together into a rectangle.
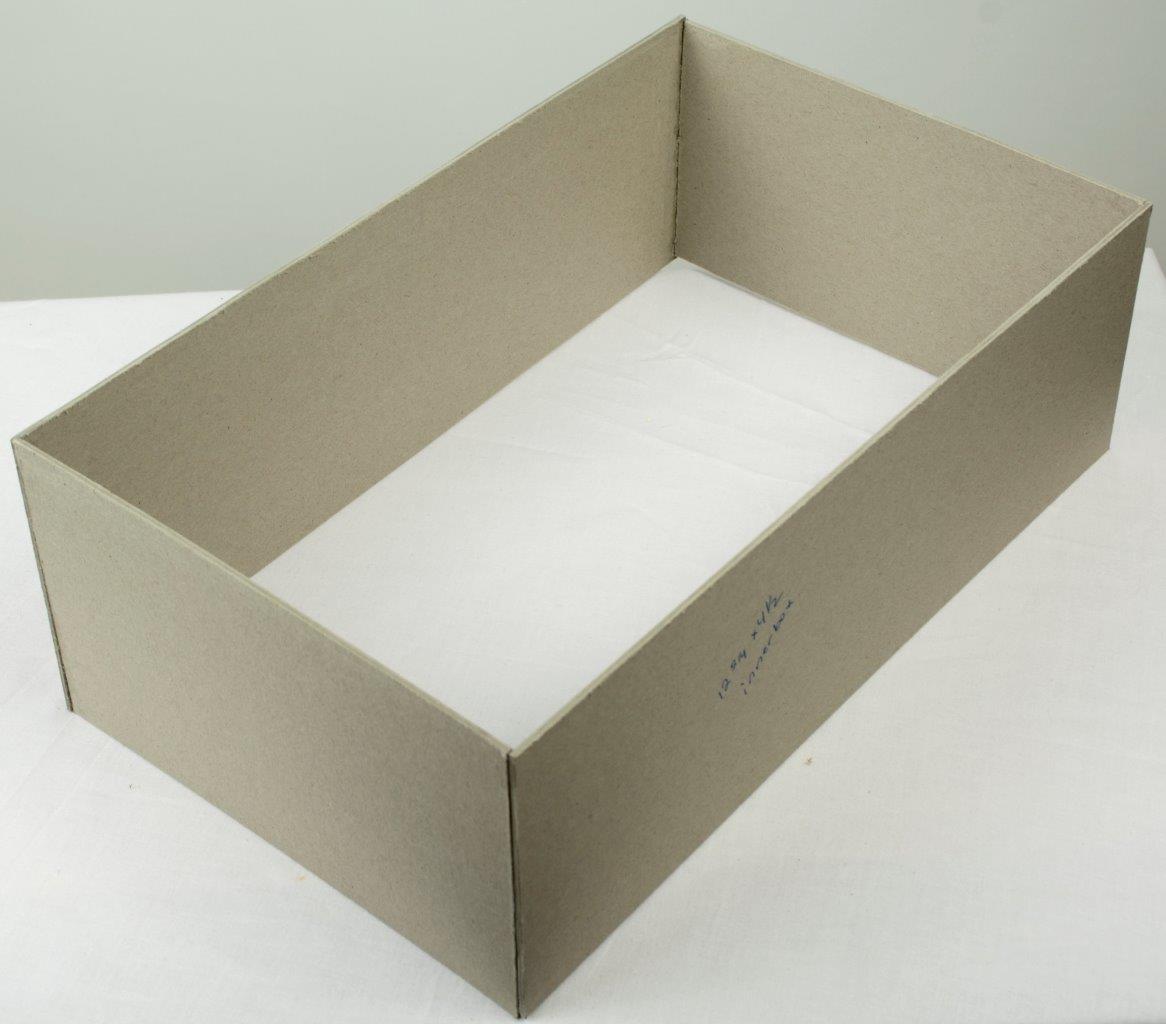
Place this rectangle inside the larger box and adhere to the base.
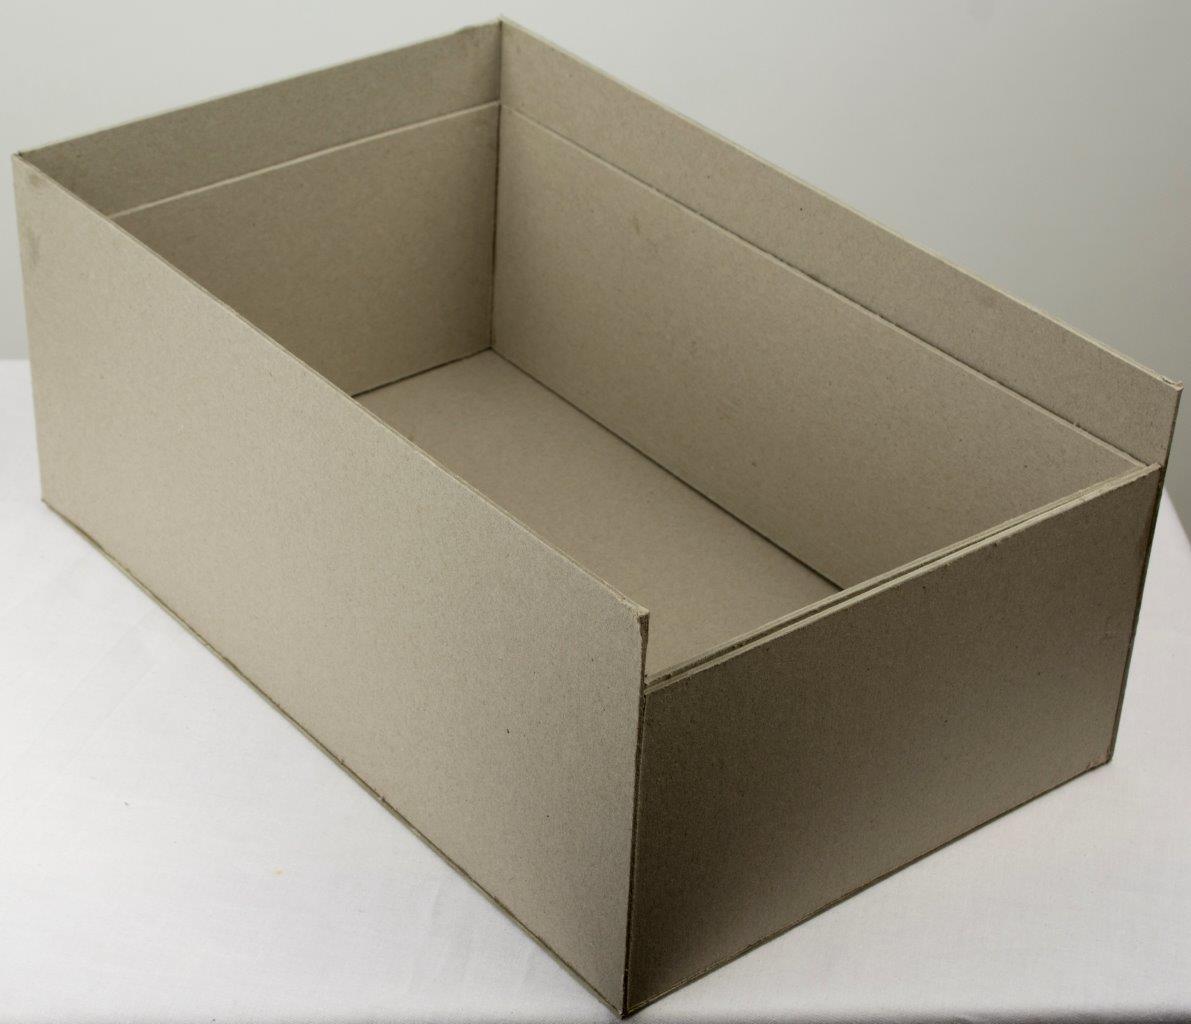
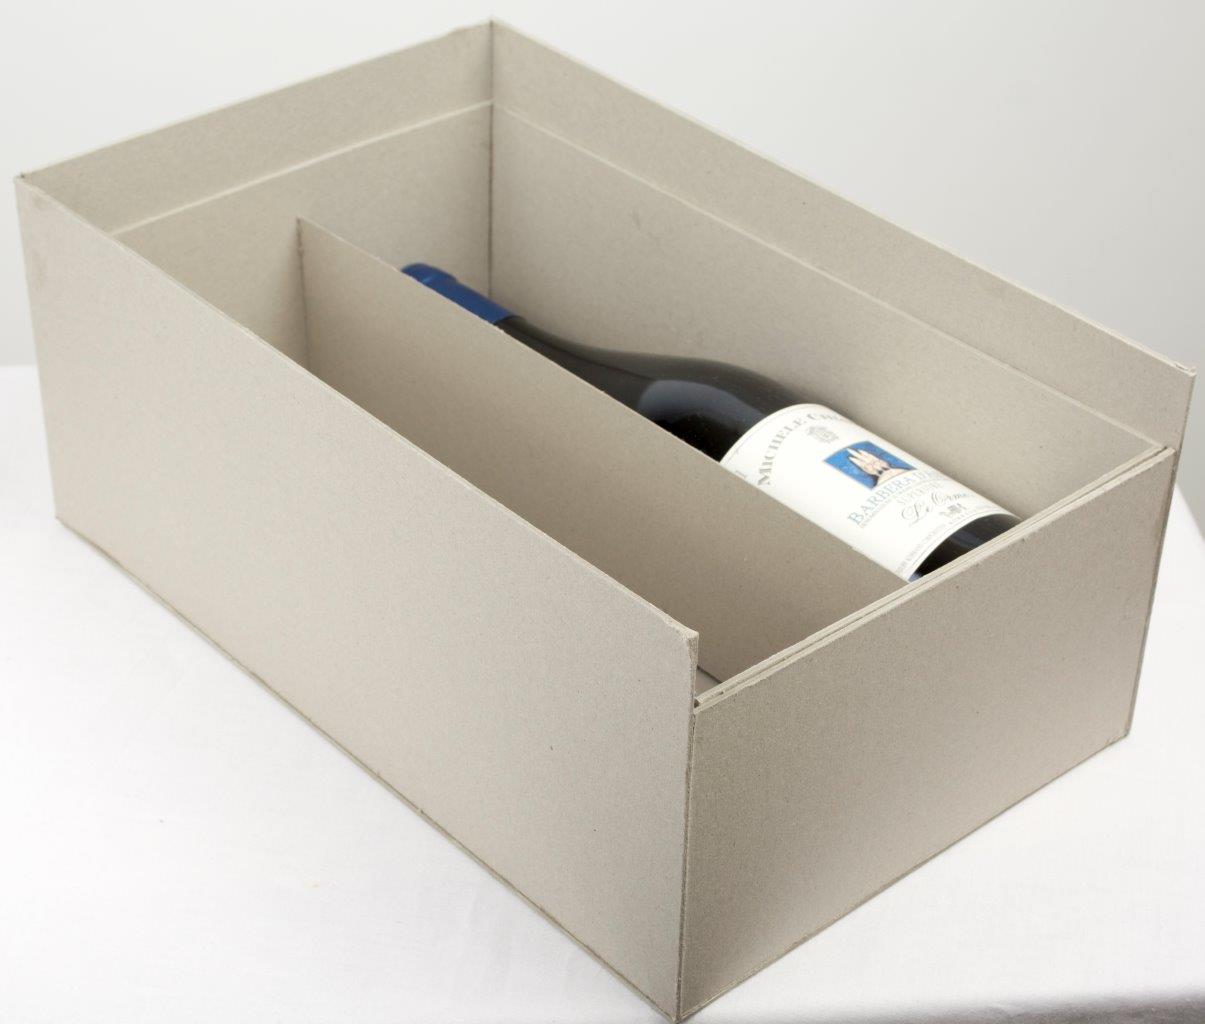
3. DIVIDER (between wine bottle and goblets)
Cut a 12 3/4″ x 3 1/2″ chipboard piece and apply decorative paper to both sides. This will serve as a divider between the goblets and the wine bottle. Before adhering this divider to the base, you will want to place your wine bottle in the box to determine the placement of the divider.
4. TOOL LAYER
Cut an 11″ x 6″ chipboard piece and apply decorative paper to the top.

Determine tool placement and then pierce holes on either side of the tools to thread your supportive ribbon. Adhere the supportive ribbon ends to the underside of the board and then apply decorative paper over the underside. Tie the ribbon firmly around the tools to hold them in place. This chipboard layer will fit on top of the wine bottle and goblets and can be removed easily through the top once the lid is removed.
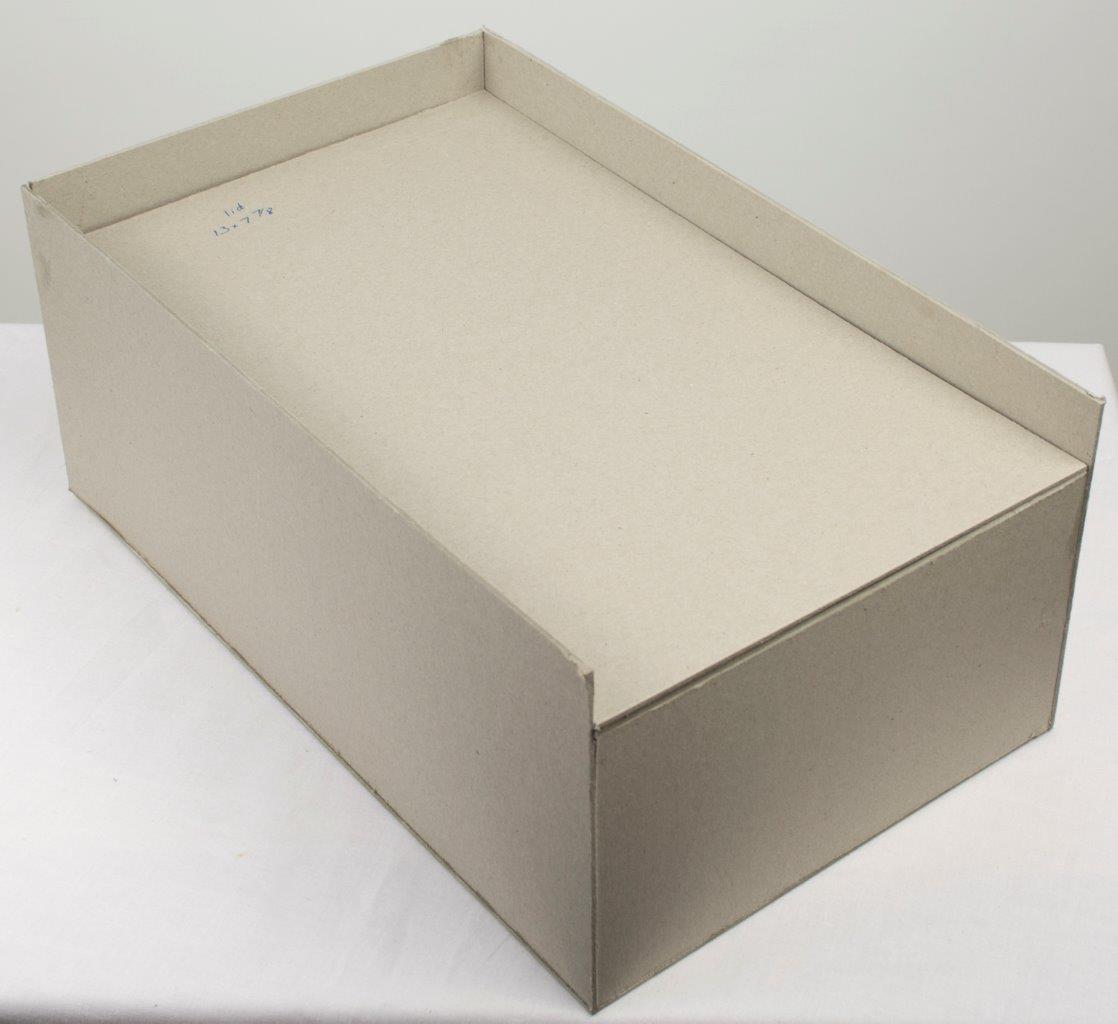
5. SLIDING LID
Cut a 13″ x 7 7/8″ chipboard piece and apply decorative paper. Apply a decorative handle to the lid top that will either fold down or be less than 1″ in height. The one I used folds down to allow passage through the 1″ opening. This lid will slide in and out on the inner rectangular frame.
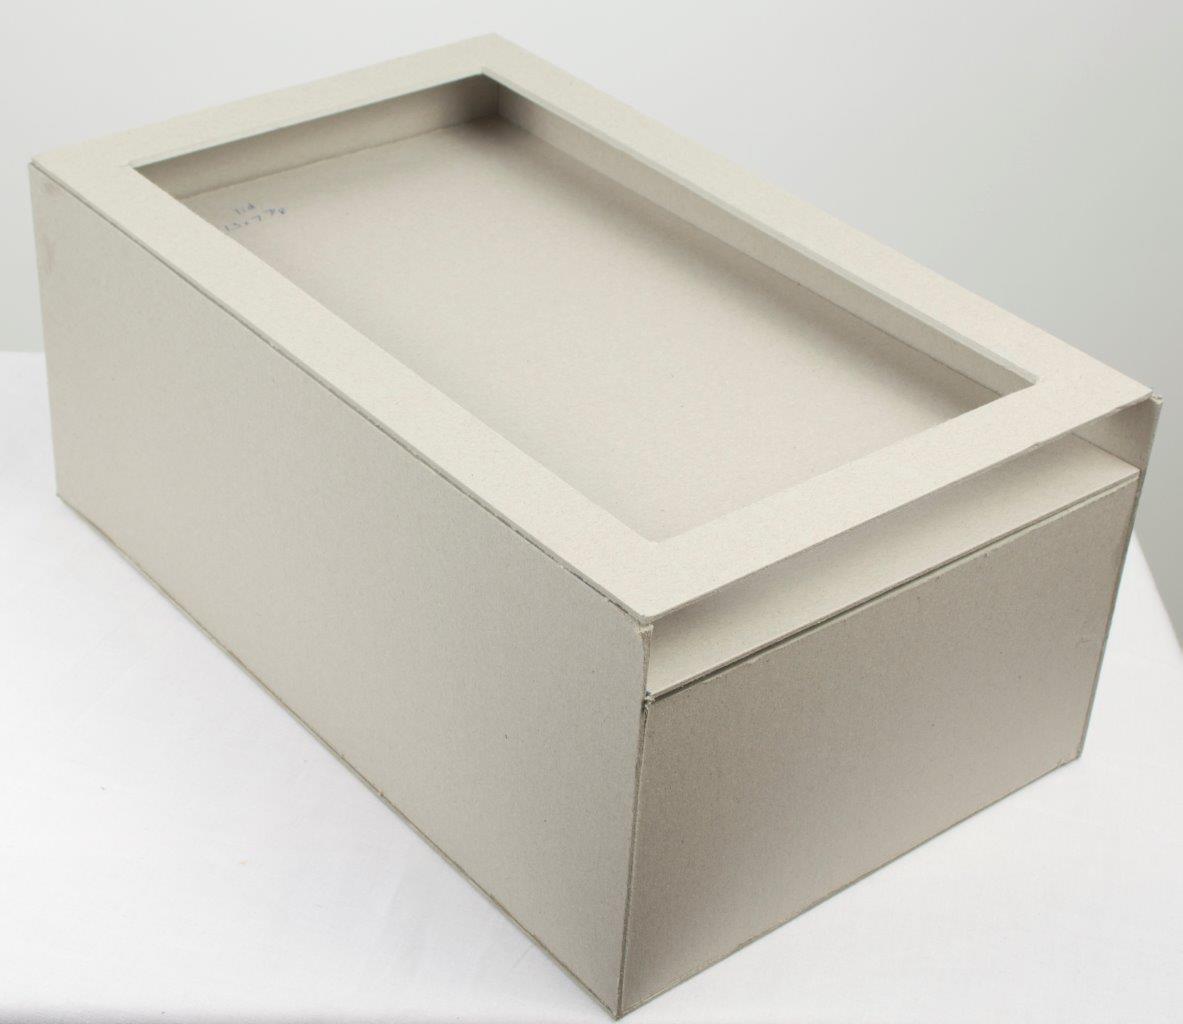
6. TOP FRAME
Cut a 13″ x 8″ chipboard piece. Measure 1″ in on all 4 sides and cut out a frame. Apply decorative paper and adhere this to the top edges of the outer box.
Once the box is assembled, insert your goblets and wine bottle to determine placement of the supportive ribbon. Pierce holes on either side of the goblets and wine bottle and insert ribbon through these holes and adhere the ribbon to the underside of the box. Tie the ribbons firmly around the goblets and wine bottle to hold them in place. You can now apply decorative paper on the underside of the box to cover the chipboard where the ribbons are adhered.
Sylvia
absolutely stunning! You’ve outdone yourself, it is such a gorgeous gift! Thanks for sharing!! I love it!
alka
This is an art….so beautiful
Ариадна Маркелова
So amazing!!! All your projects leave me absolutely speechless!!! Thanks a lot for the instructions!