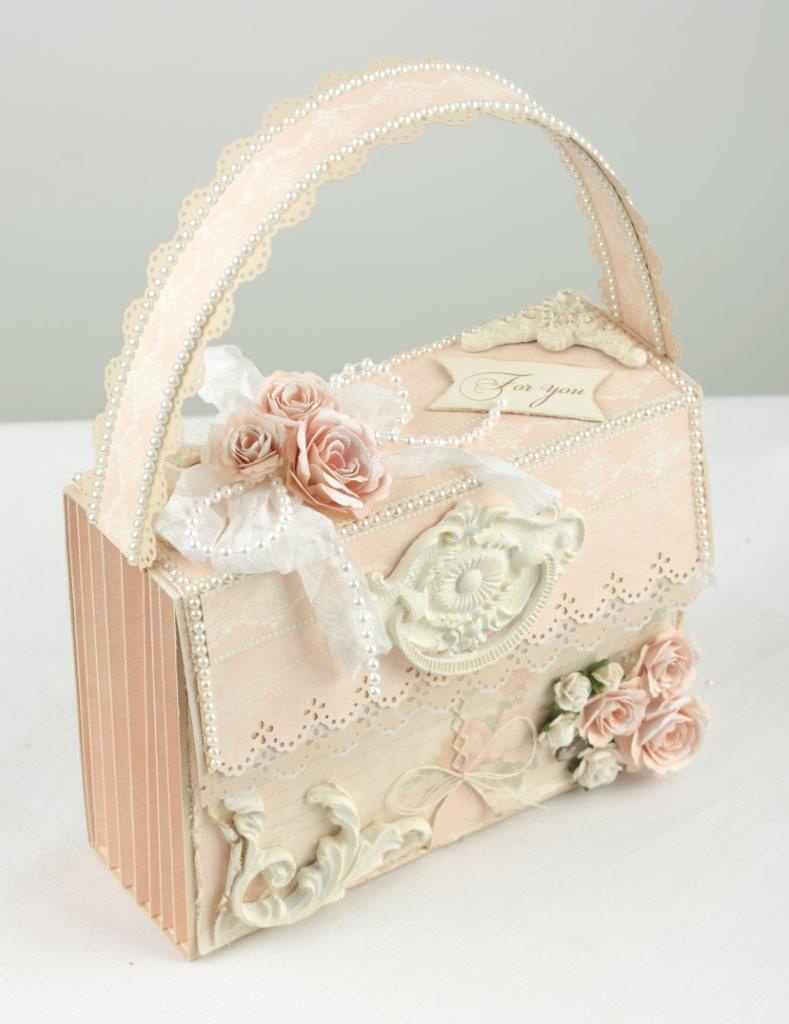
Purse Attache’
Tara Brown
- posted on
- 10 Comments
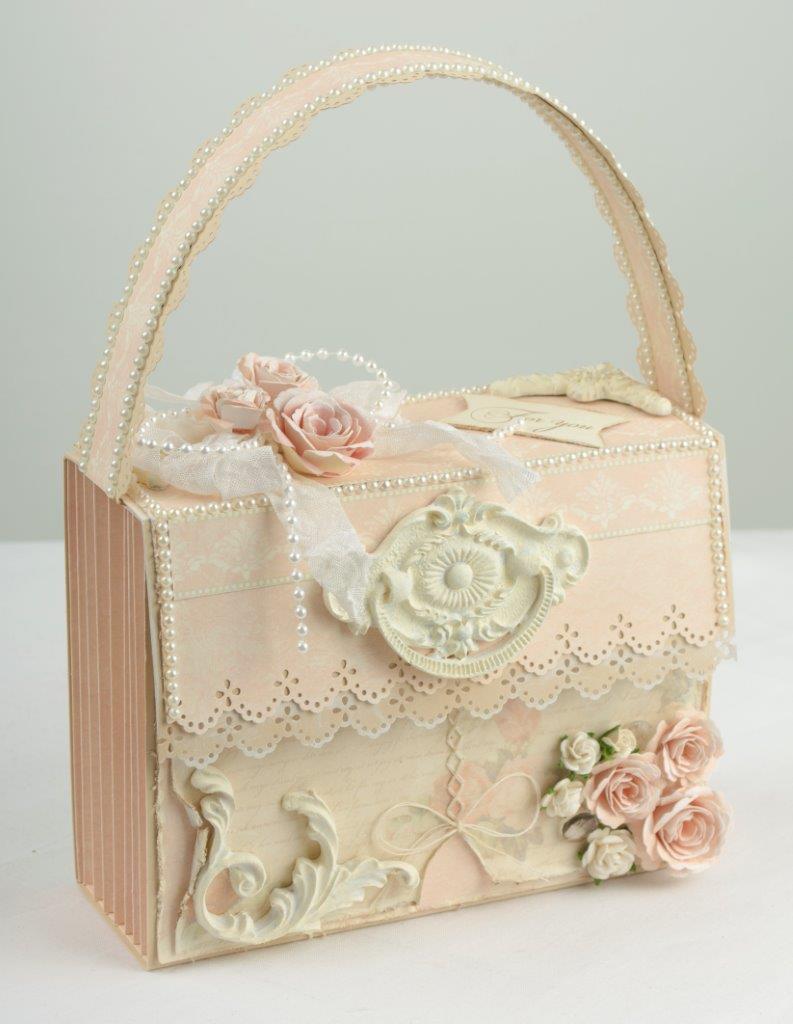
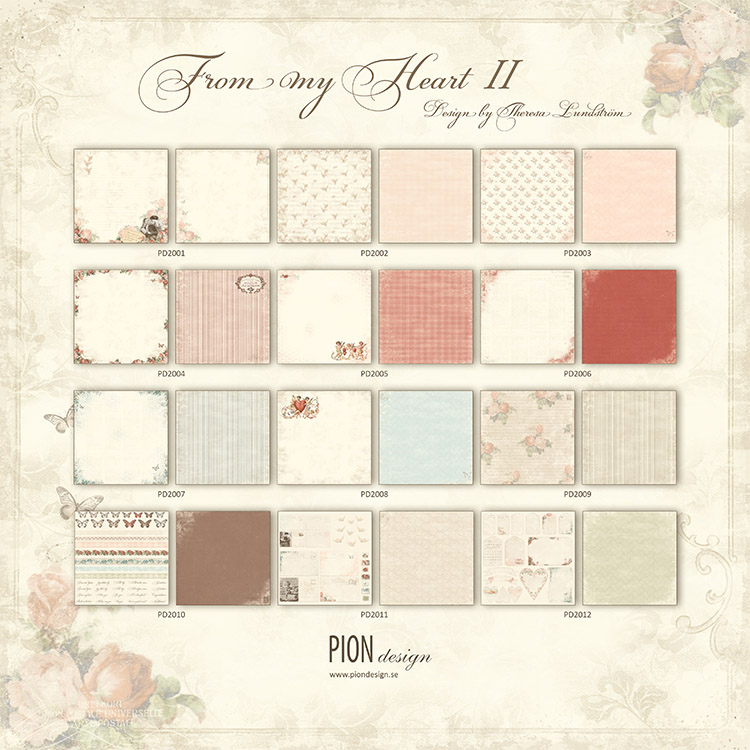
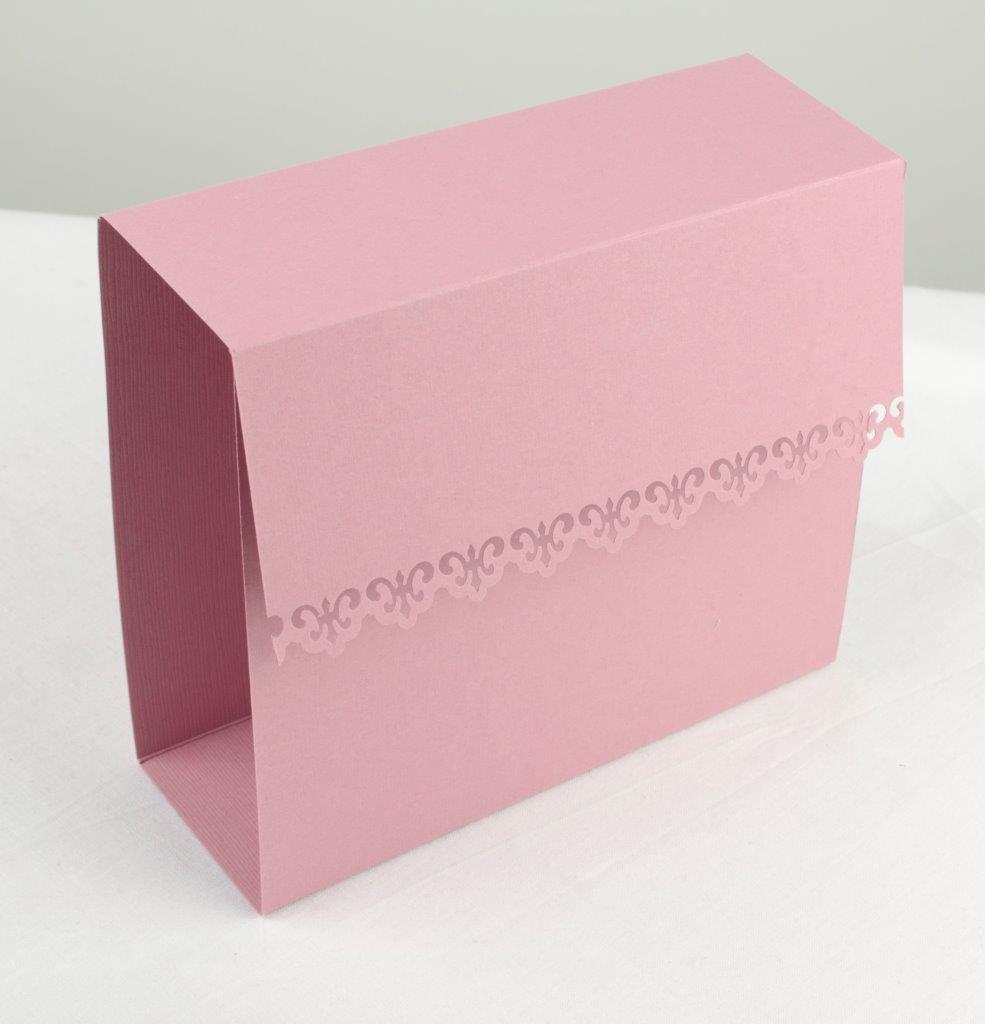
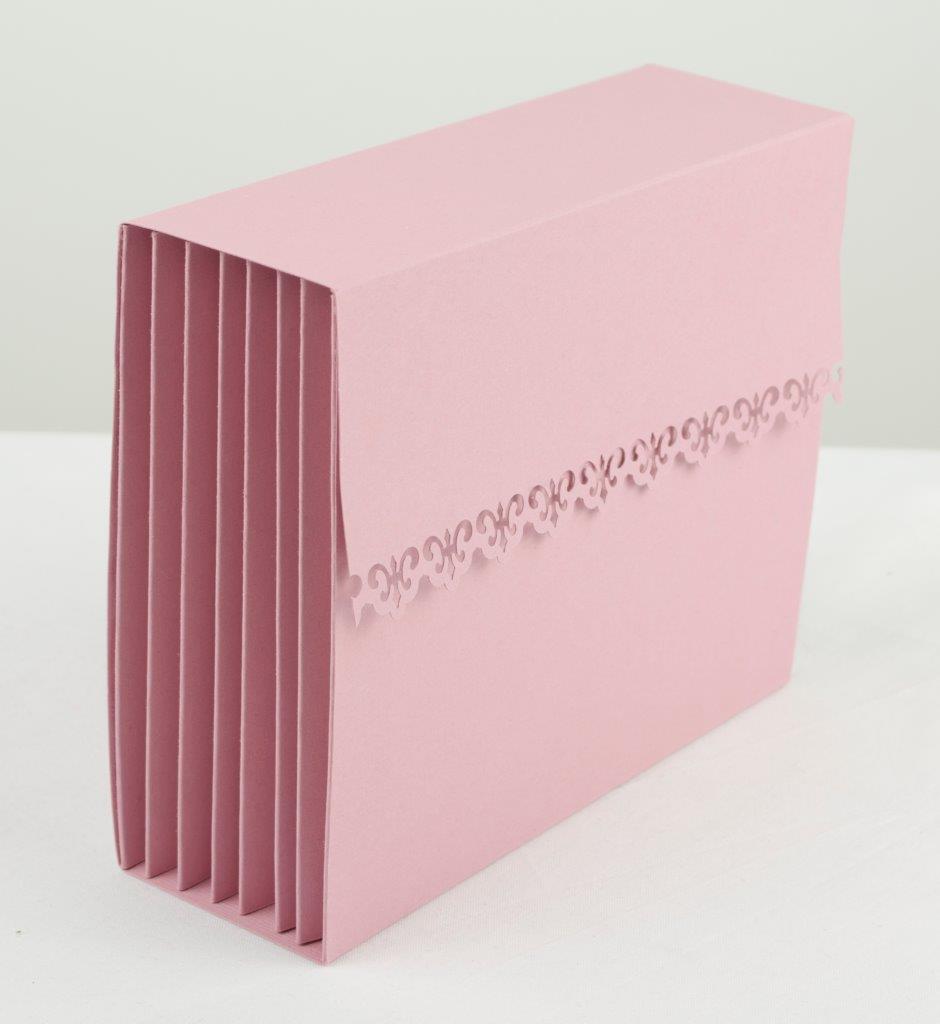
There is no other paper that I’d rather craft with than Pion Design. Check out this Purse Attache’ on today’s (September 9) Pion Design Blog here. This was made with the lovely From My Heart II collection. The color and designs of this collection are so delicate and beautiful. You can download the project’s
WPC CUTTING FILE HERE. I’ve seen several tutorials for this on the internet, but I’ve included instructions below on how to make the particular one I’ve made. Inspiration for this project came from here.
MATERIALS USED:
Pion Design: From My Heart II
Bazzill Smoothies Cardstock: Walnut Cream
Melissa Frances Embellishments
Spellbinders: Flourish Trim, Bitty Blossoms
Martha Stewart punch: Eyelet Lace
PURSE ATTACHE’ INSTRUCTIONS:
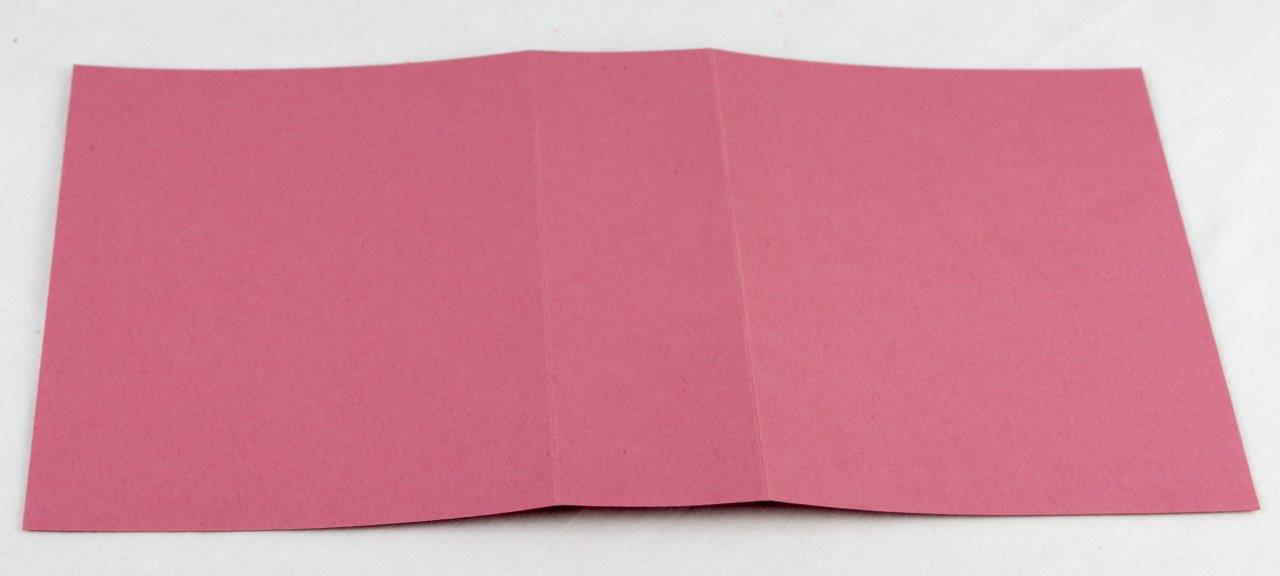
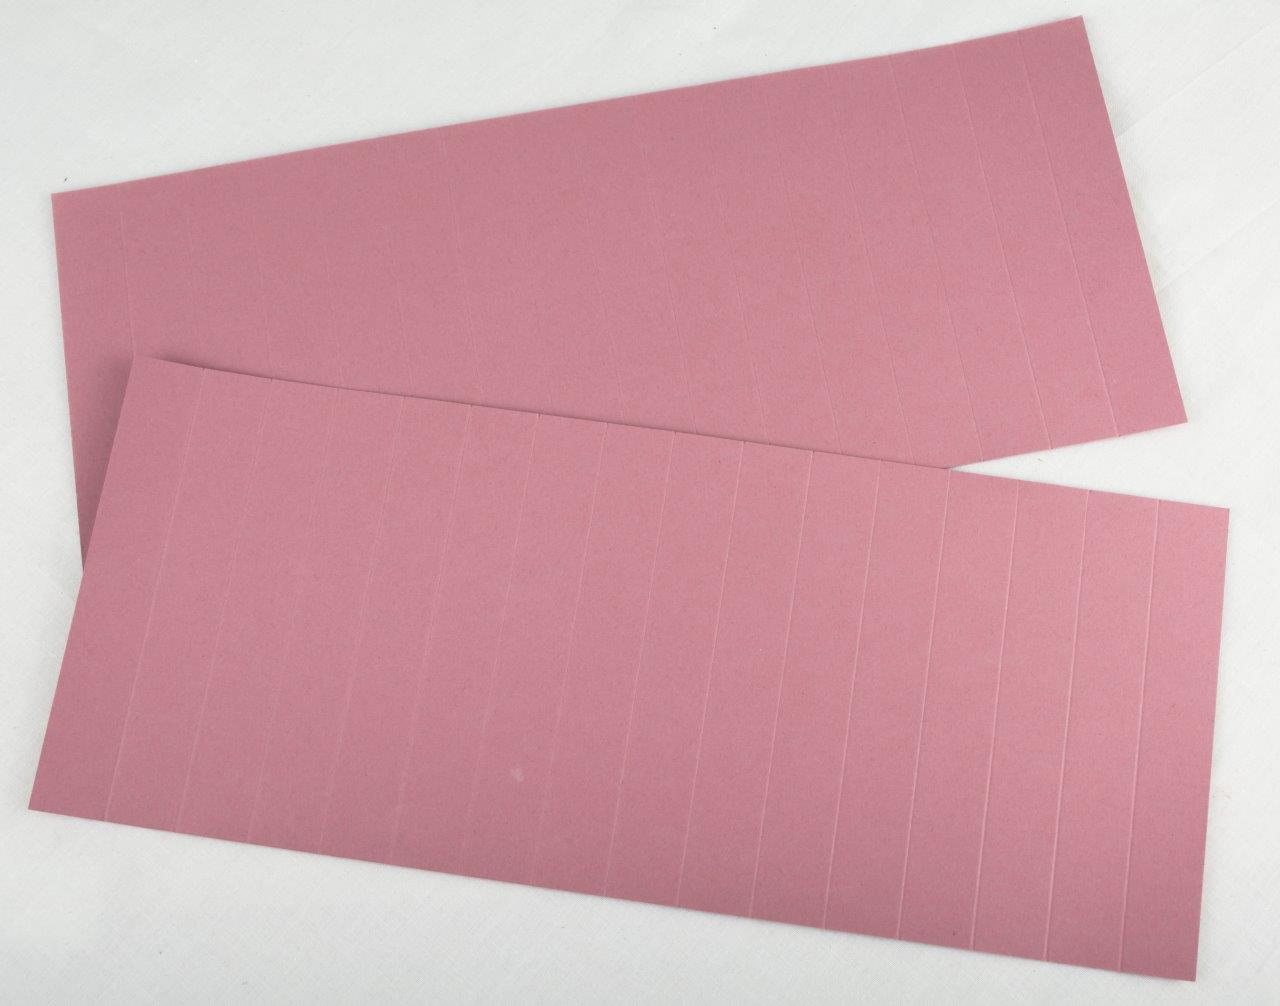
1. Cut a 12″ x 6″ piece of card stock and score it along the shorter side at 5″ and 7″ as shown.
2. Cut another piece of cardstock to 5 1/2″ x 6″ and score the shorter 5 1/2″ side at 2 1/2″ and 4 1/2″. You will have a 1″ scored strip that will attach to the edge of the longer cardstock piece.

3. Use a decorative punch on the edge of the 2 1/2″ scored edge.
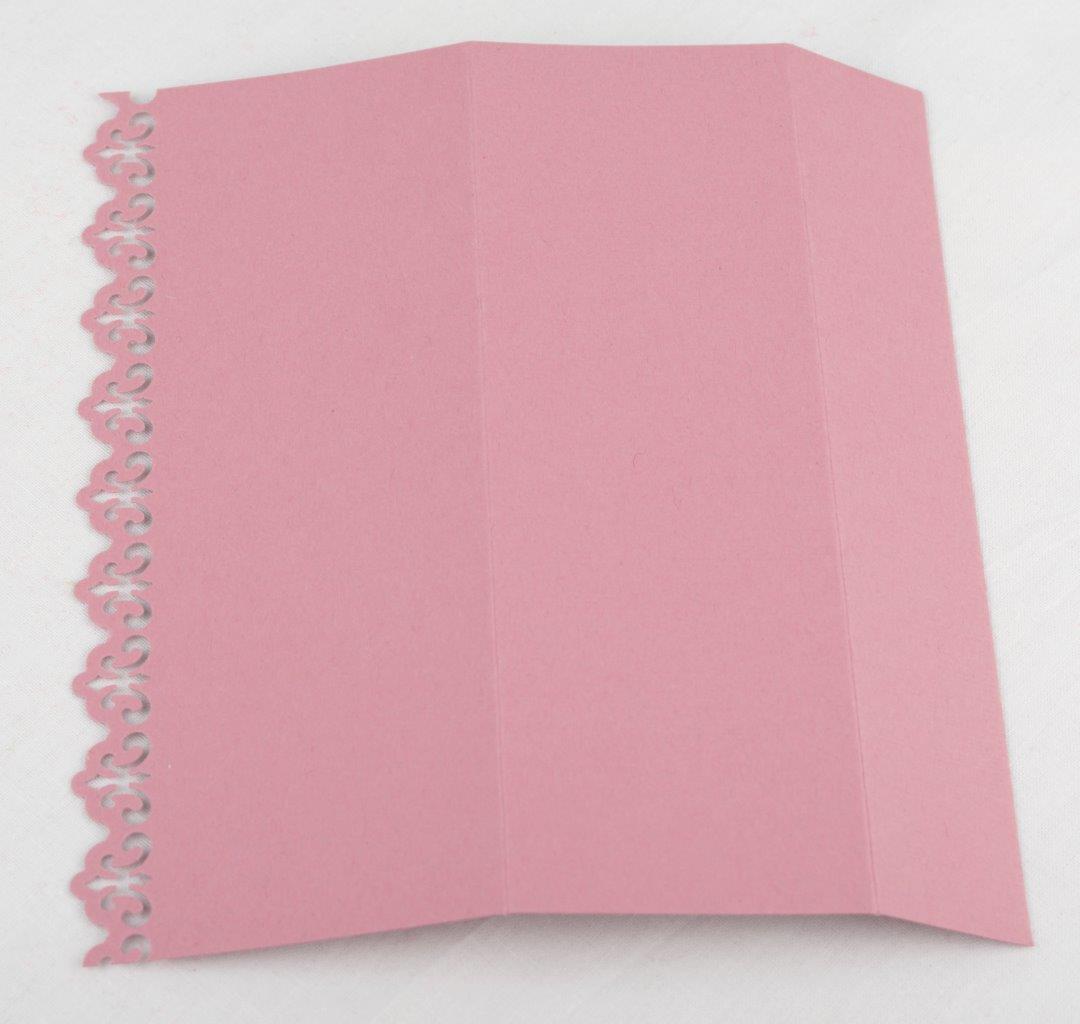
4. Align the 1″ scored strip of the shorter piece to one of the edges of the longer 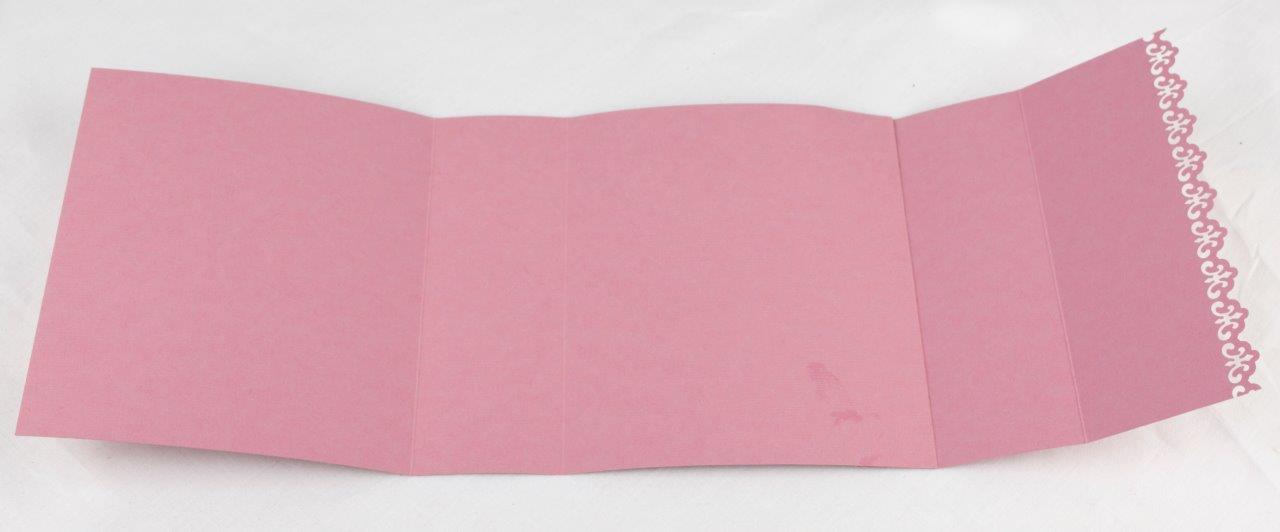
5. To make the attache’ folded sides, cut two pieces of cardstock measuring 12″ x 5″ and score along the short sides every 3/4″
6. Fold the pieces like a fan and crease well.
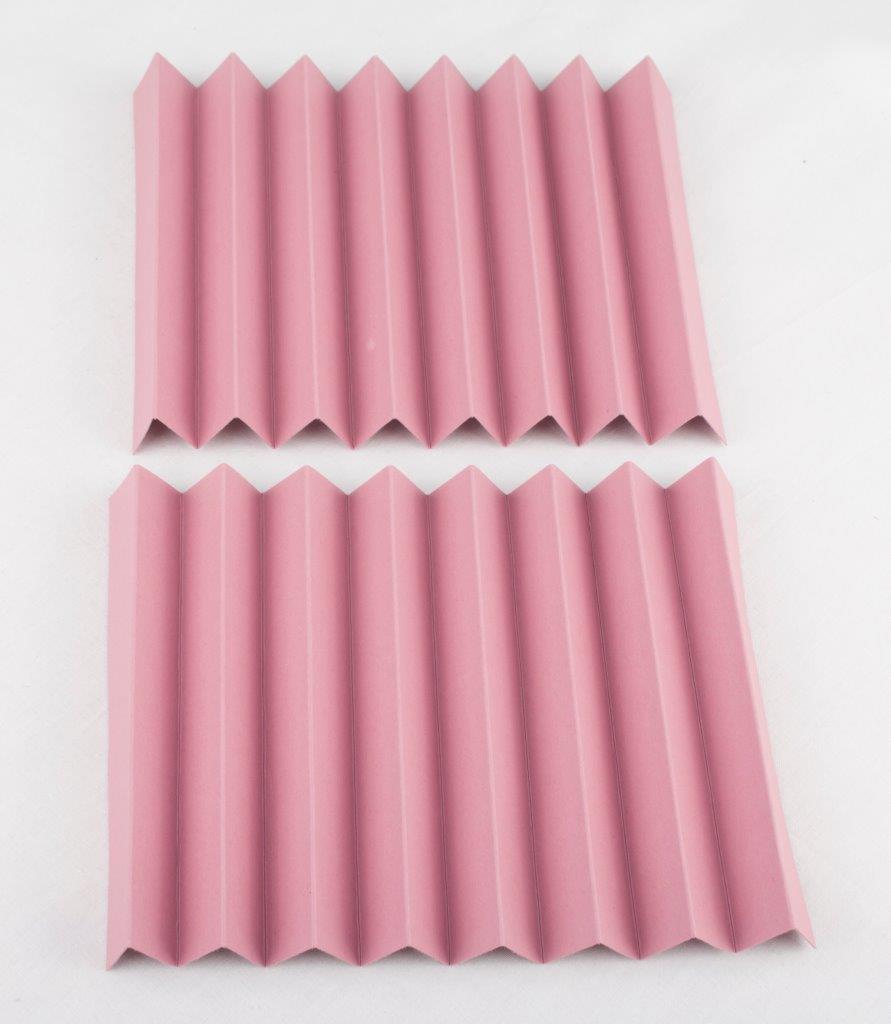
7. Adhere the outer pieces of the attache’ folded sides to the outer edges of the inside of the box as shown.
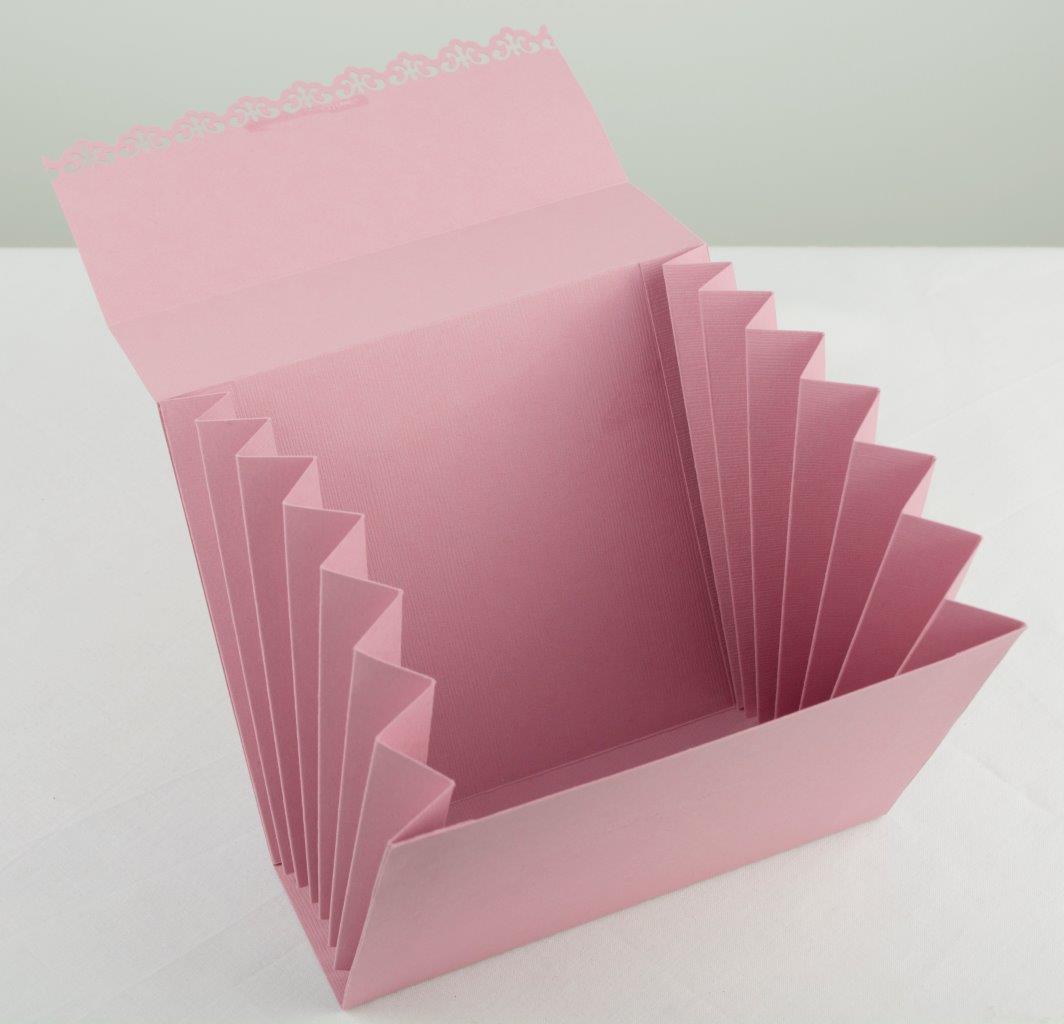
7. Cut a 12″ x 2″ of card stock. Score at 1/4″ and 11 3/4″ and then use a decorative punch along each side to make a handle. Adhere the scored portions to each side of the underside of the top lid.
8. Cut a 2″ x 6″ piece of decorative paper and apply over the underside of the top lid to hide where the handle is adhered.
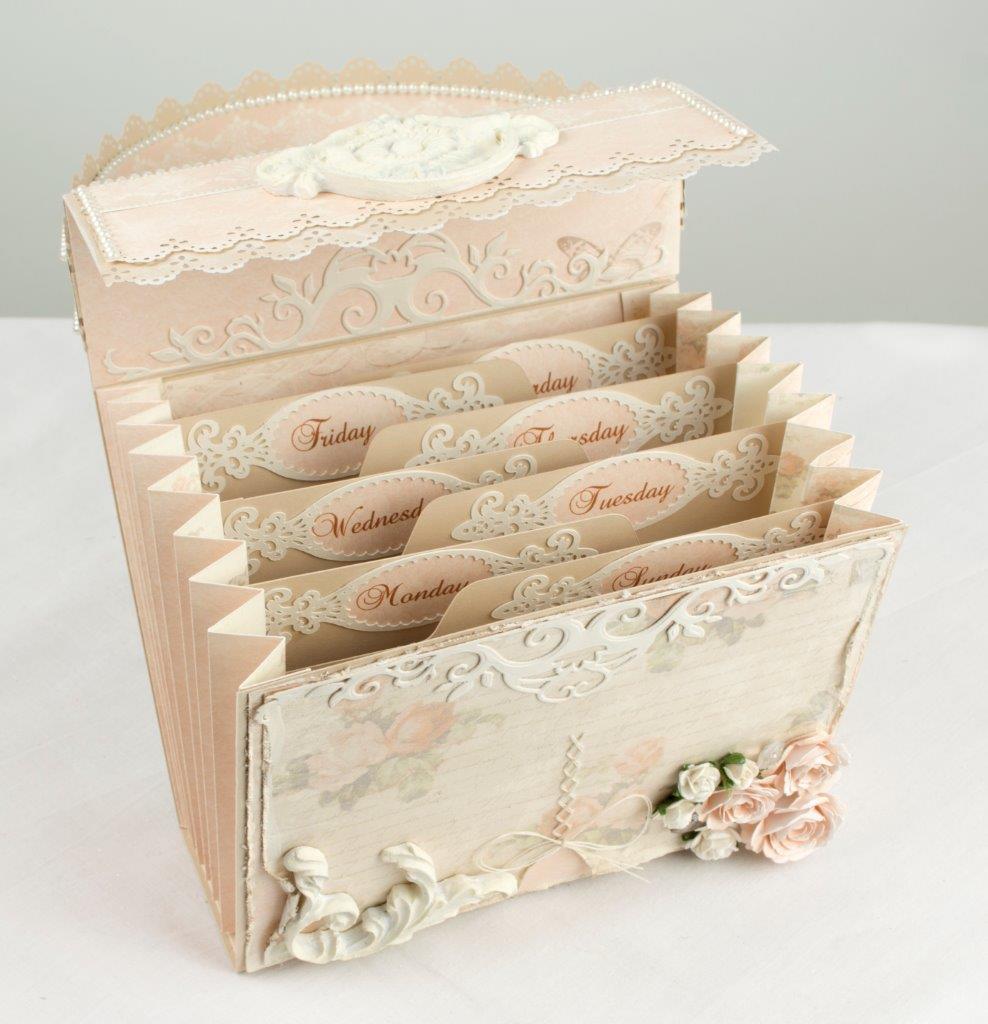
9. Make seven index cards – one for each day of the week – measuring 5 7/8″ width x 4 3/4″” height. Ideas for making index cards include using a Spellbinders label or shape to attach to the card to make a decorative top for the label. Or you could simply cut out a 3 3/4″ x 2″ rectangle and adhere it to the card 1″ higher than the top of the card. If you use these ideas, you will need to decrease your card height by about 1″ so that the label or shape can be higher than the card. Label these cards with the days of the week and insert them.
Ариадна Маркелова
So beautiful and tender purse! Thank you for the instructions 🙂
Grietje Jansen
Beautifull thank you.
Grietje
Boni Grabusky
Ohhh sharing this with all my friends this is wonderful ! Thanks so much for the instructions
Grietje Jansen
I can’t open the cuttingfiles, but with the help of the pictures i made one to.
Thank you, its lovely.
Grietje
Theresa ~ Pion Design
You are amazing Tara ♥
Bonnie
Which spellbinders label did you use? I cannot seem to find it.
Tara Brown
Hi Bonnie, I used the “Flourish Trim” Spellbinders die which measures 5¾ x 1¼” on the purse front (under the flap) and on the inside of the flap. If you are referring to the index card labels, I made those with my Silhouette Cameo using a cutting file from the Silhouette library. Hope this helps!
Bonnie
Yes, that was what I was talking about, the card labels. I really love those.
Dharmishtha
Amazing work
Anonymous
How lovely,you clever girl?X