Vintage Carousel with cutting file and assembly instructions
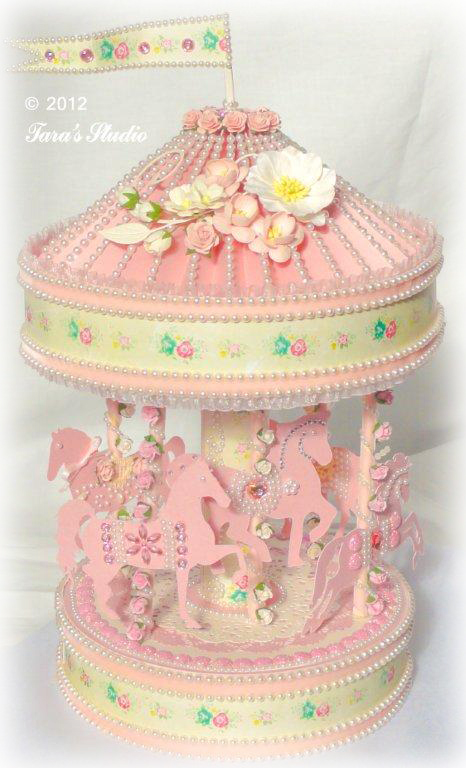
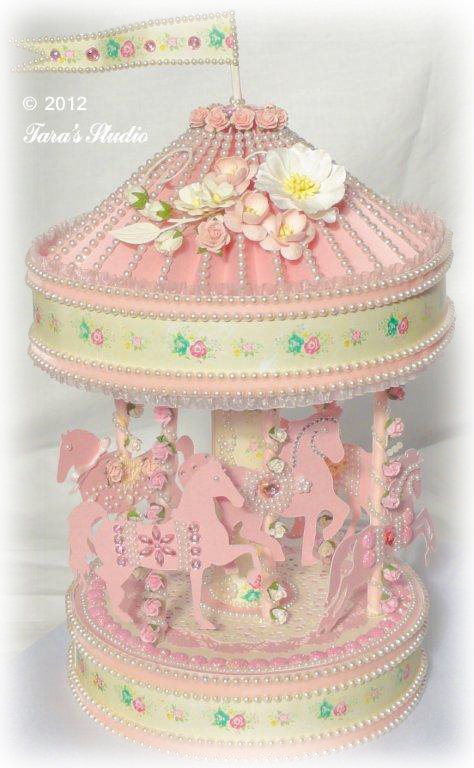
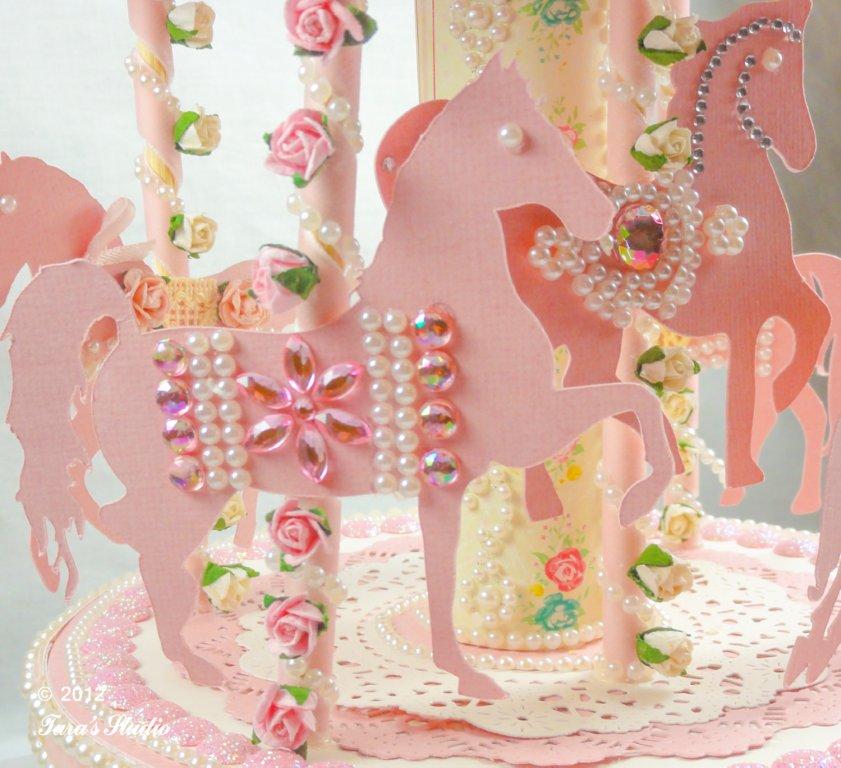
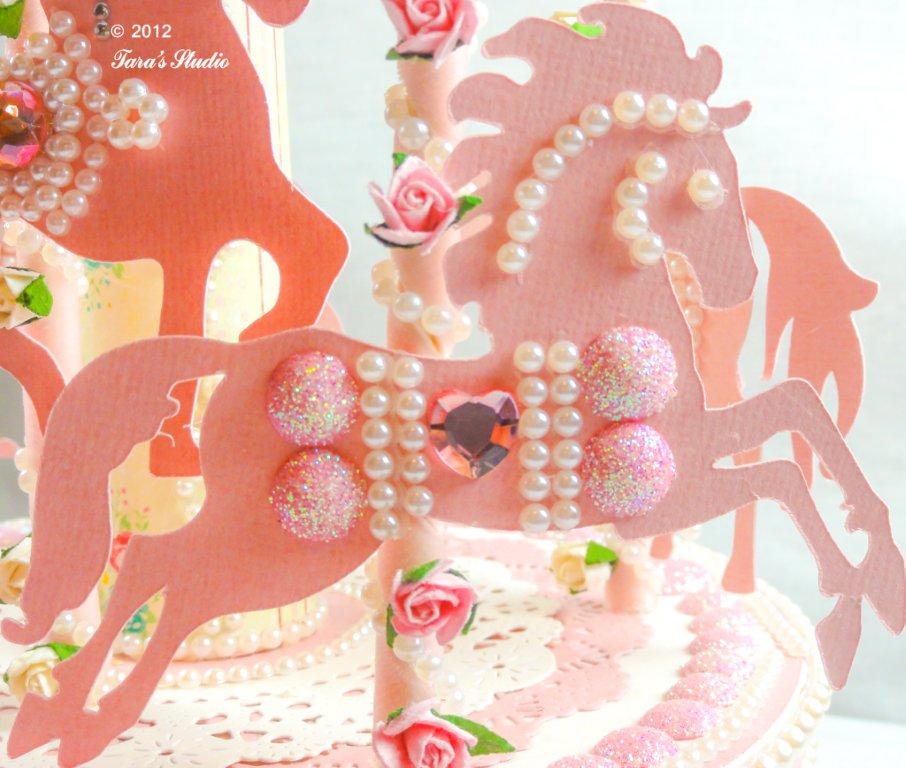
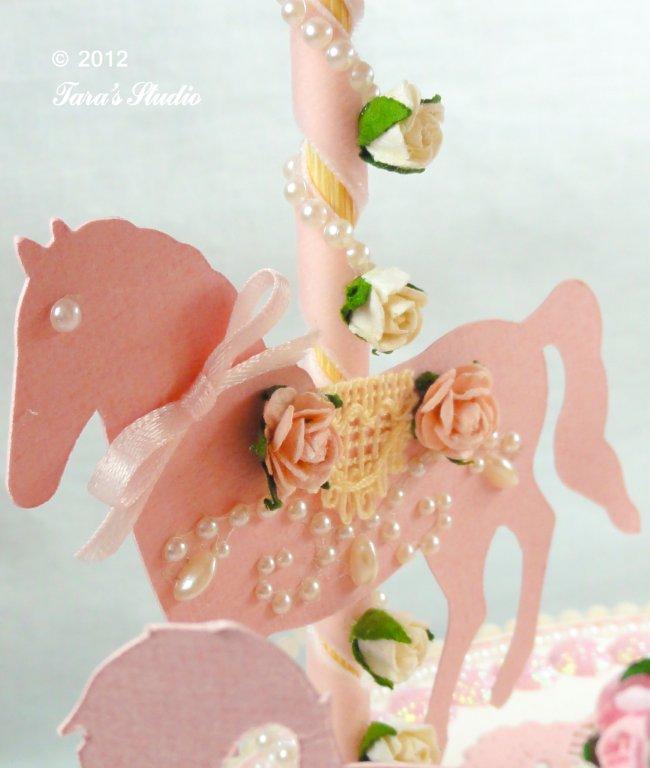
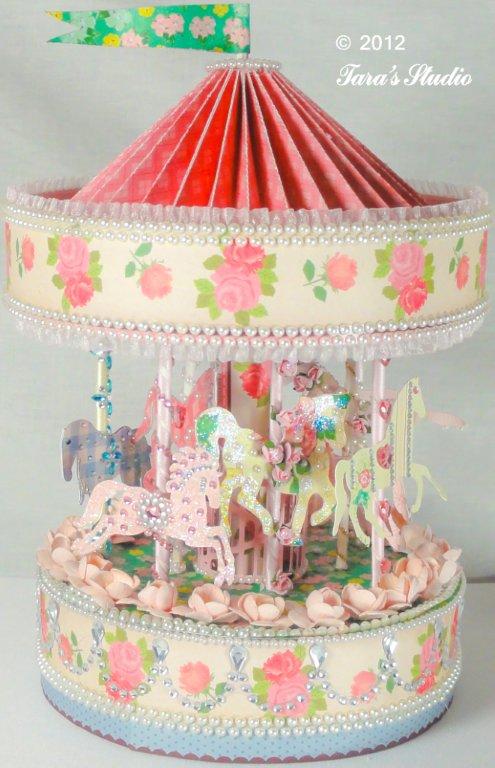
In keeping in line with the county fair season, I’ve also made this little carousel and am enclosing the cutting file and assembly instructions below for this project. I’ve participated in the Wild Orchid Challenge 58 “Layer it Up” with this project as well as the September Pazzles Challenge. The cutting file includes the round base and the pleated top along with the top band. The horses are not included in the cutting file as they were downloaded from the Pazzles library.
It is necessary to use a thin chipboard for the round bottom base to support the project. As in the last post, I used Colorbok “whiteboard” which is thin, but sturdy, and cuts easily with the Pazzles Inspiration.
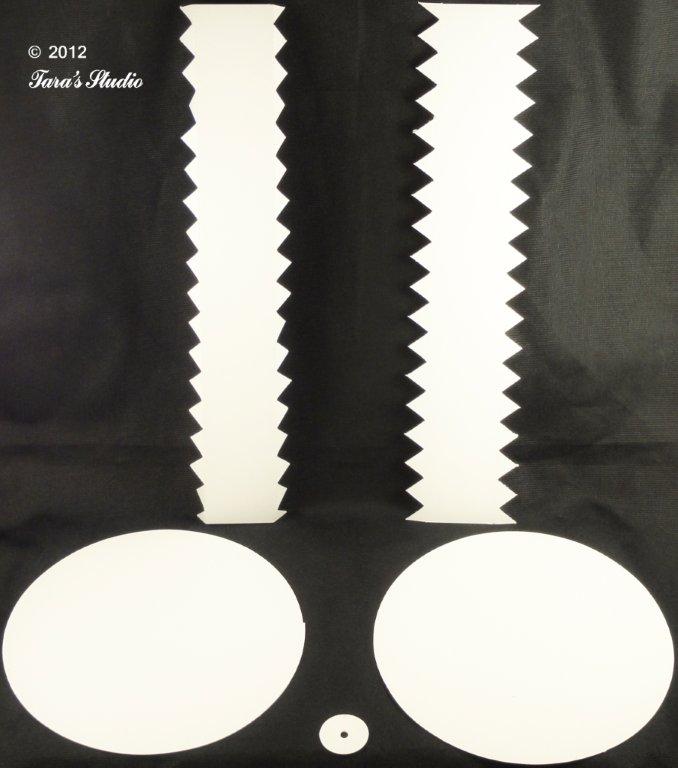
Start by cutting and scoring the chipboard pieces.
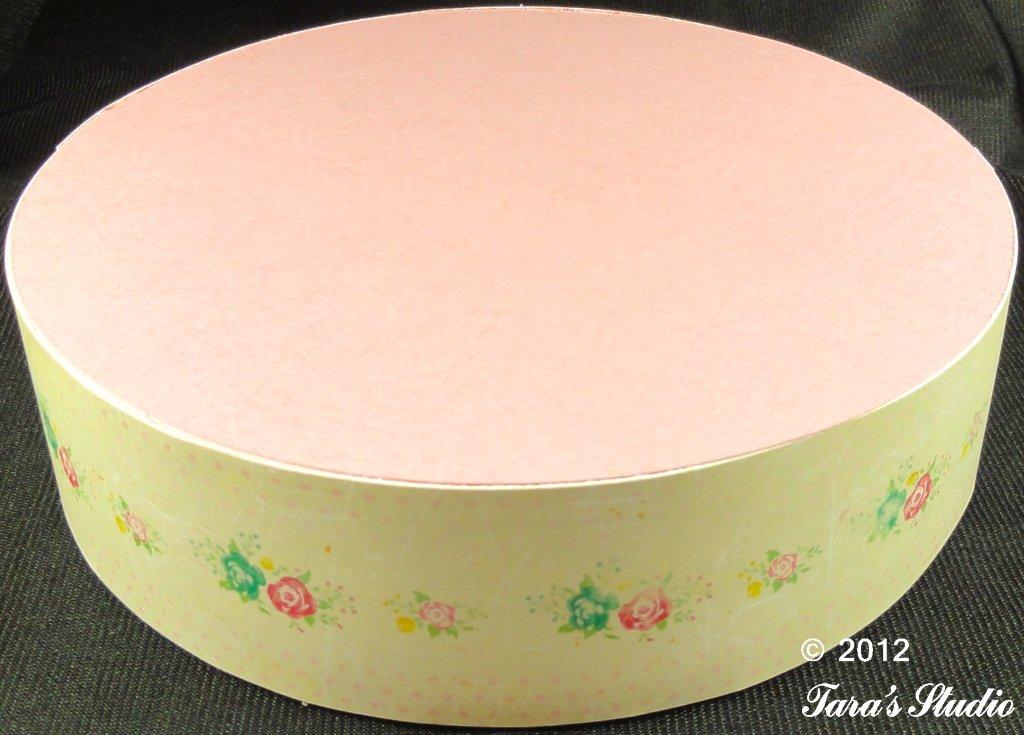
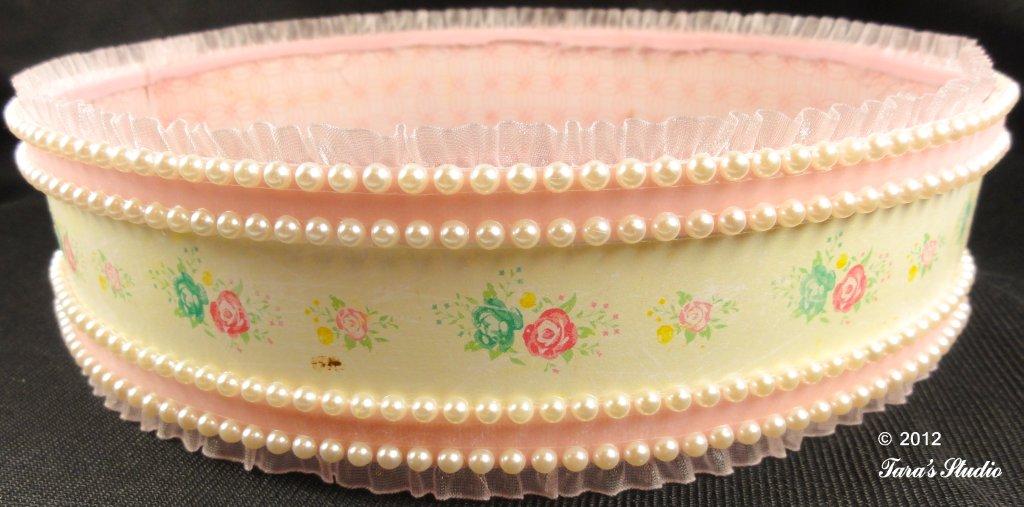
Glue the two chipboard bands together (a little overlap is OK when glueing). Fold in the scored teeth on the chipboard band and then wrap the band into a circle. Overlap the ends a little and then glue the ends together (use the circle cutouts as a guide to know how much overlap there should be on the band) Glue both circle cut-outs to the band’s teeth. This is not difficult since the chipboard holds it’s shape while glueing. Apply your decorative paper to cover the chipboard circular base.
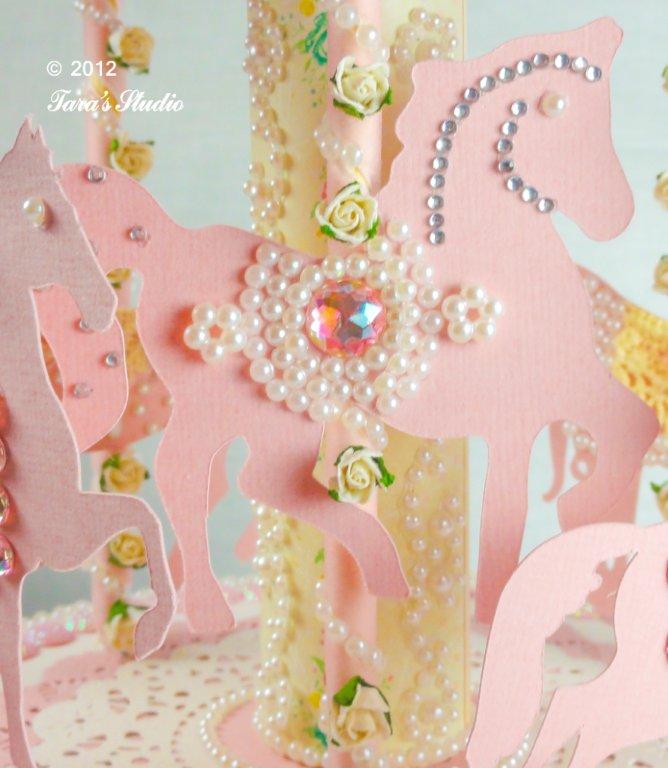
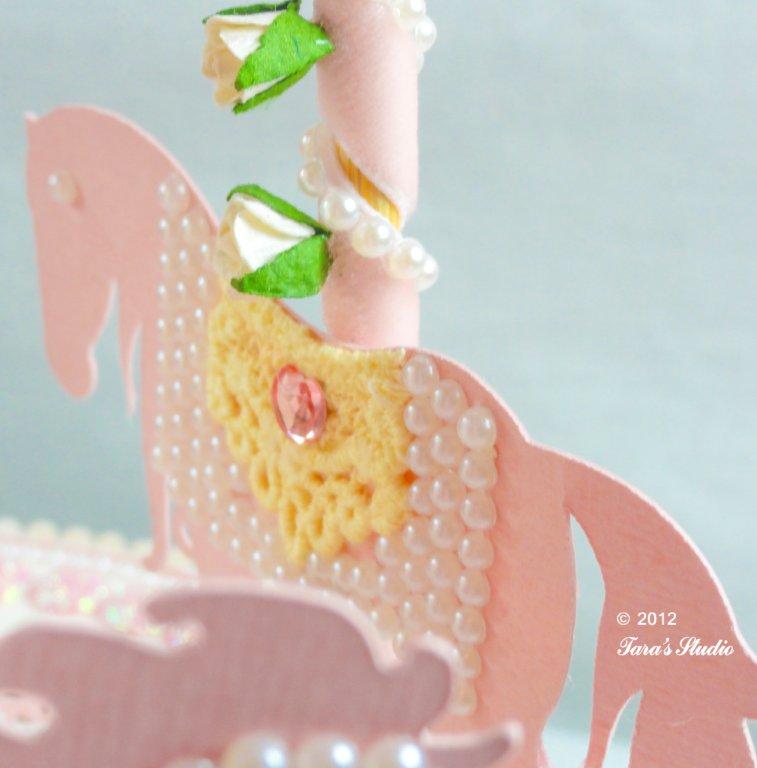
For the center circular roof support, shape the decorative paper or card stock (needs to be thick/sturdy) into a roll and glue. Use a hot glue gun to adhere the base of this roll to the center of the circular base. Prepare your horses and poles. The poles were made by cutting and painting bamboo skewers and then wrapping ribbon around them. I downloaded the different horses from the Pazzles library and sized them each to approximately 3″ x 3.” Glue the horses to the bamboo poles and then use a hot glue gun to adhere the poles to the circular base.
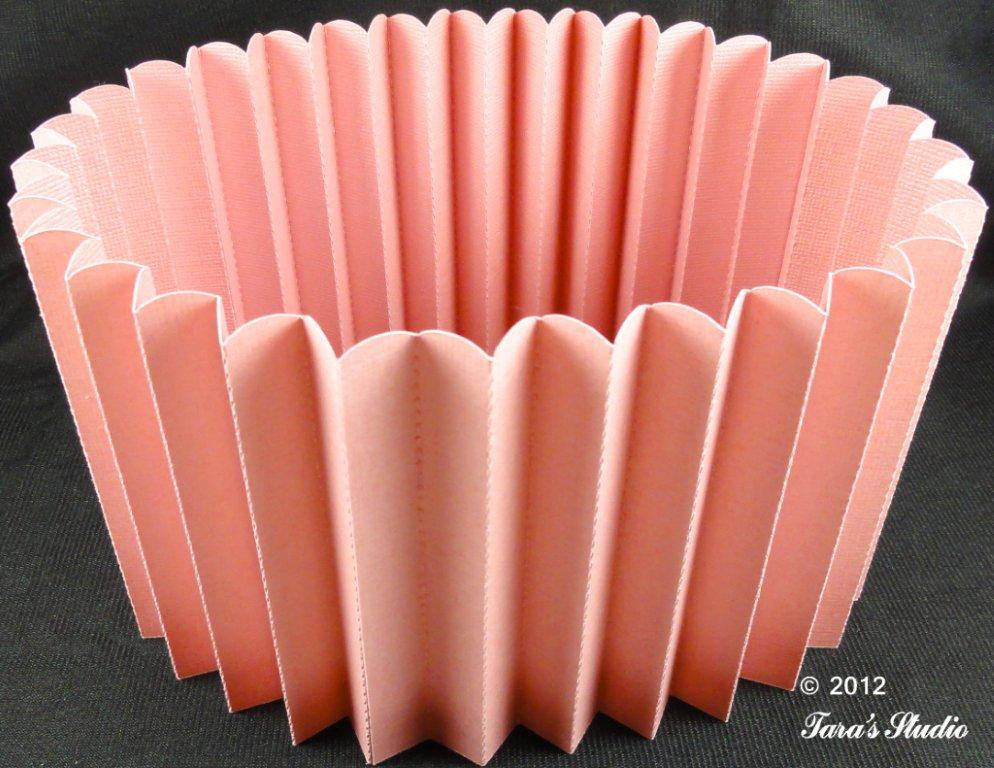
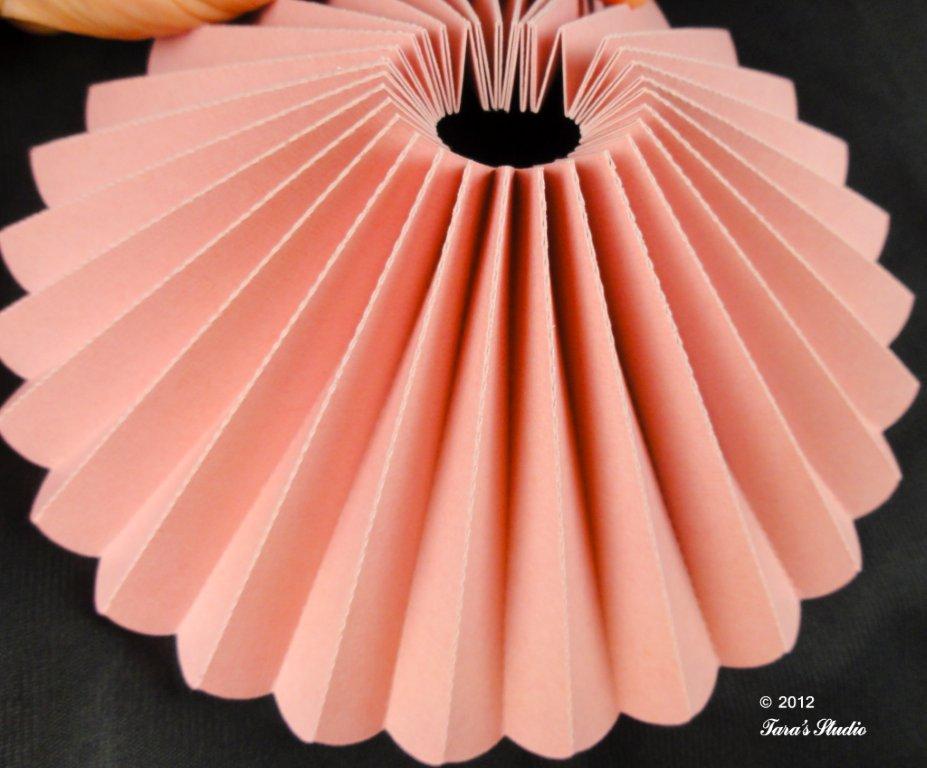
Glue the 3 pieces of the pleated top together and then fold like a fan along the scored lines. Depending on how wide you want your pleated top to be, you may want to cut off some of the length.
Now glue the ends together to make a circle.
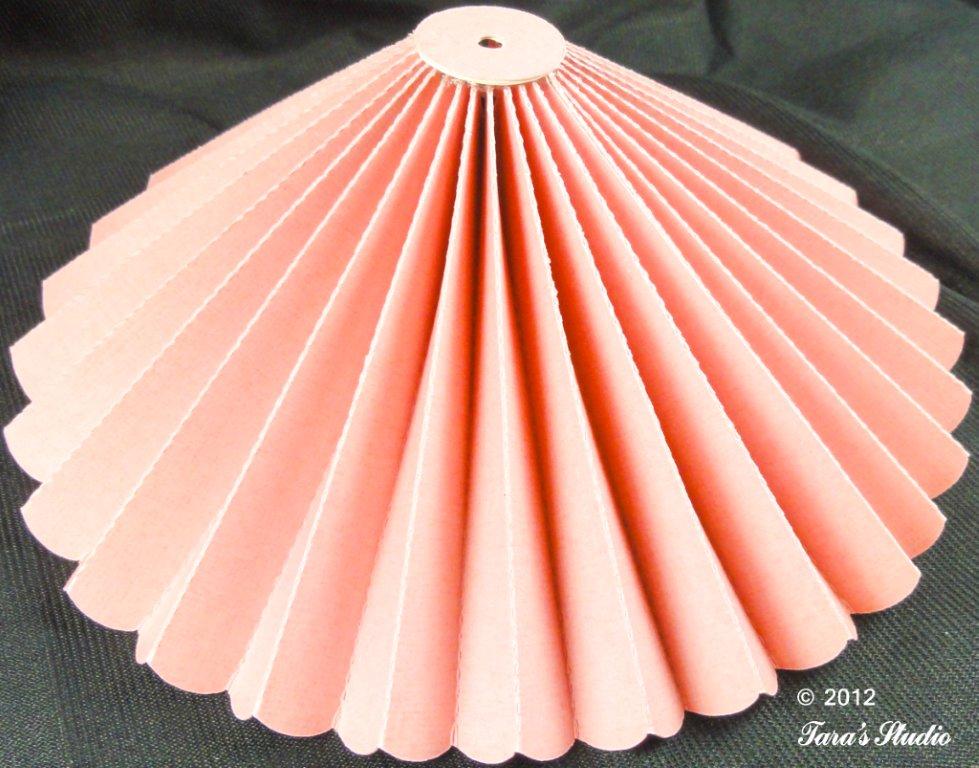
Bring the side with the straight edges toward the center as if you were making a rosette, but not all the way down – just enough to where the small chipboard circle cutout will cover the top edges.
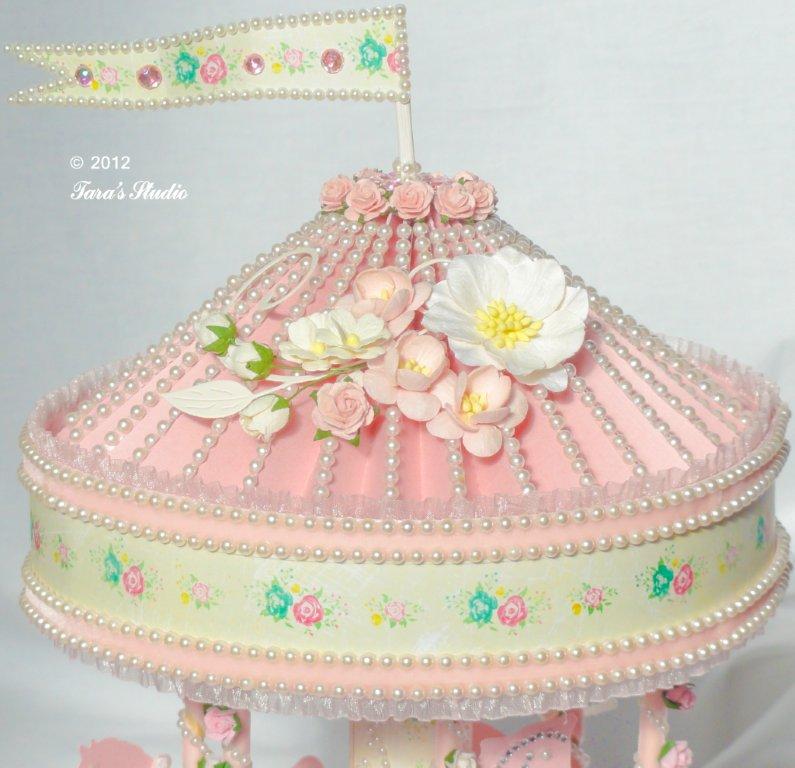
Use the hot glue gun to firmly adhere the small chipboard circle to the top of the pleated carousel top. The small chipboard circle has a small hole so you can insert a pole for a flag.
The top band that fits over the pleated top is optional. If you want to use it, shape and size the top band into a circle that will fit the carousel pleated top.
Use a hot glue gun to adhere this to the pleated top. Apply hot glue to the pole tops and attach the carousel top quickly making sure your poles are set straight before the glue dries.


Else Irene
*Wow, this is amazing!! Thanks for joining us at Wild Orchid Challenge this week ♥
adriana
So Beautiful !!! you are amazing !!!!! Congratulations
Paula Gale
OMG – words fail me…. this is absolutely stunning beyond words. I so wish I could open your cut file, but I have Silhouette Cameo – what a shame… this is gorgeous – I hope you save it for someone very special!!!
I just arrived here from Pintrest, but as soon as I got here, I knew I’d have to look around:) xxx
Thank you for sharing your wonderful projects for all to see (and Pin lol) xxx
Paula x x x
Dorota Borus
I don’t know what to say! Your imagination has no limits! Should be punished 😉
I’m in love with your works! This is all fantastic, beautiful, wonderful……
Wish to open your files but I can’t 🙁
Anita Nay
Is the cutting file somewhere other than on this page? I don’t see it and an disappointed that I cannot download it.
TarasStudio
Hi Anita, The cutting file is included on the page, and since it was hard to see, I highlighted it in red for you. Just click on the red “cutting file” link and it should give you the download for the WPC cutting file. Let me know if this works for you!
Maria Torres
Its not working for me I tried and tried and nothing…plz help my niece is going to be a mom for the first time and the decorations, invitations etc is about carousel..please and thanks
Tara Brown
Hi Maria, I’m not sure why it’s not working for you. I checked and the link is still working. Just hold your mouse over the link and choose “save to downloads” and then open the file in your machine. The file is in WPC format, but I understand there are ways to convert this to different file formats. Take care! Tara
Gail
Hi Maria
I was surfing away and found this absolutely stunning Carousel. I am trying to make this as a gift and ran in to difficulty, the center pole how do you attached it to the top and bottom
Would you be interested in making a video, I am sure many would love it as I am very visual person I would love to watch step by step
Thank you so much for posting tutorial.
Gail