Posted in Dimensional Projects, Mini Albums
Tara Brown
- posted on
- 18 Comments
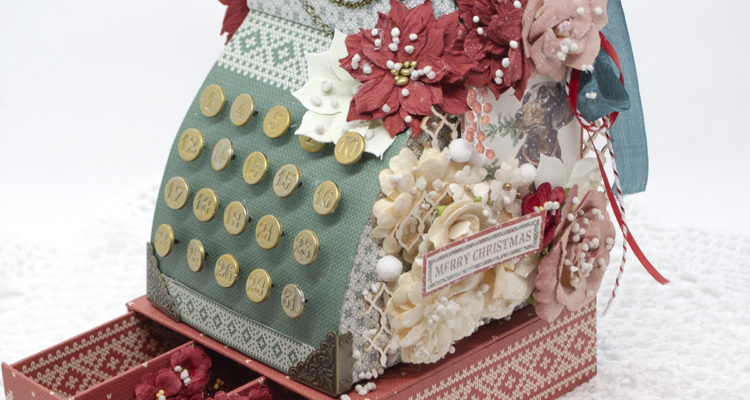
Many of you may remember a version of this vintage cash register that I posted several years back in 2015 that can be found here. With Pion Design’s new “Home For Christmas”